

Easy Everyday Contour in 4 Steps
Happy day after Thanksgiving, everyone!
In addition to being the biggest shopping day of the year (everything on our site is 30% OFF!), today is also a day of rest and recovery from yesterday's food-fest. If you're feelin' it in your face (and aren't we all) the fastest and easiest way to give the illusion of chiseled features is with a little contour!
We get it, from the look of the process, contouring can feel like an advanced makeup skill for the average makeup user. But, once you get your hands on the correct brushes and contouring shades, you’ll be shocked at how easy it really is!
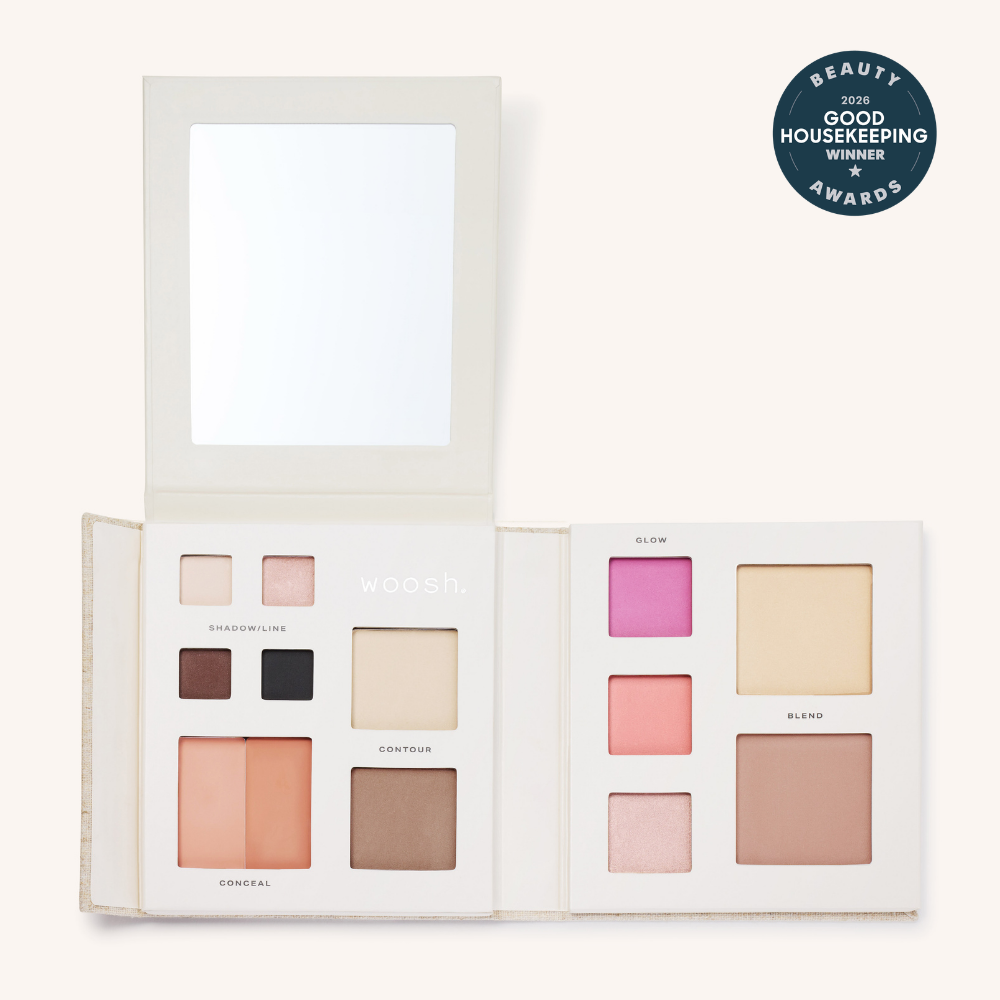
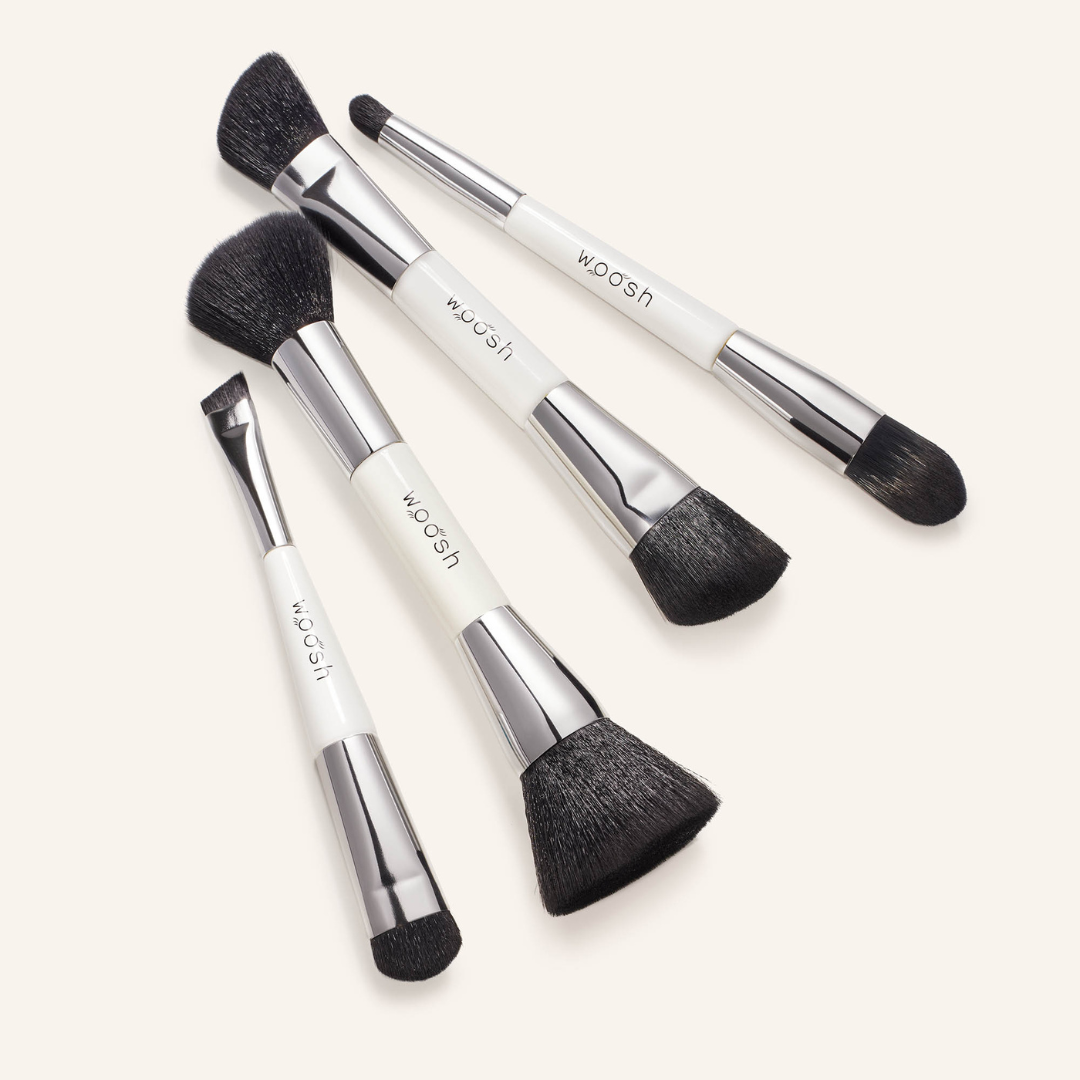
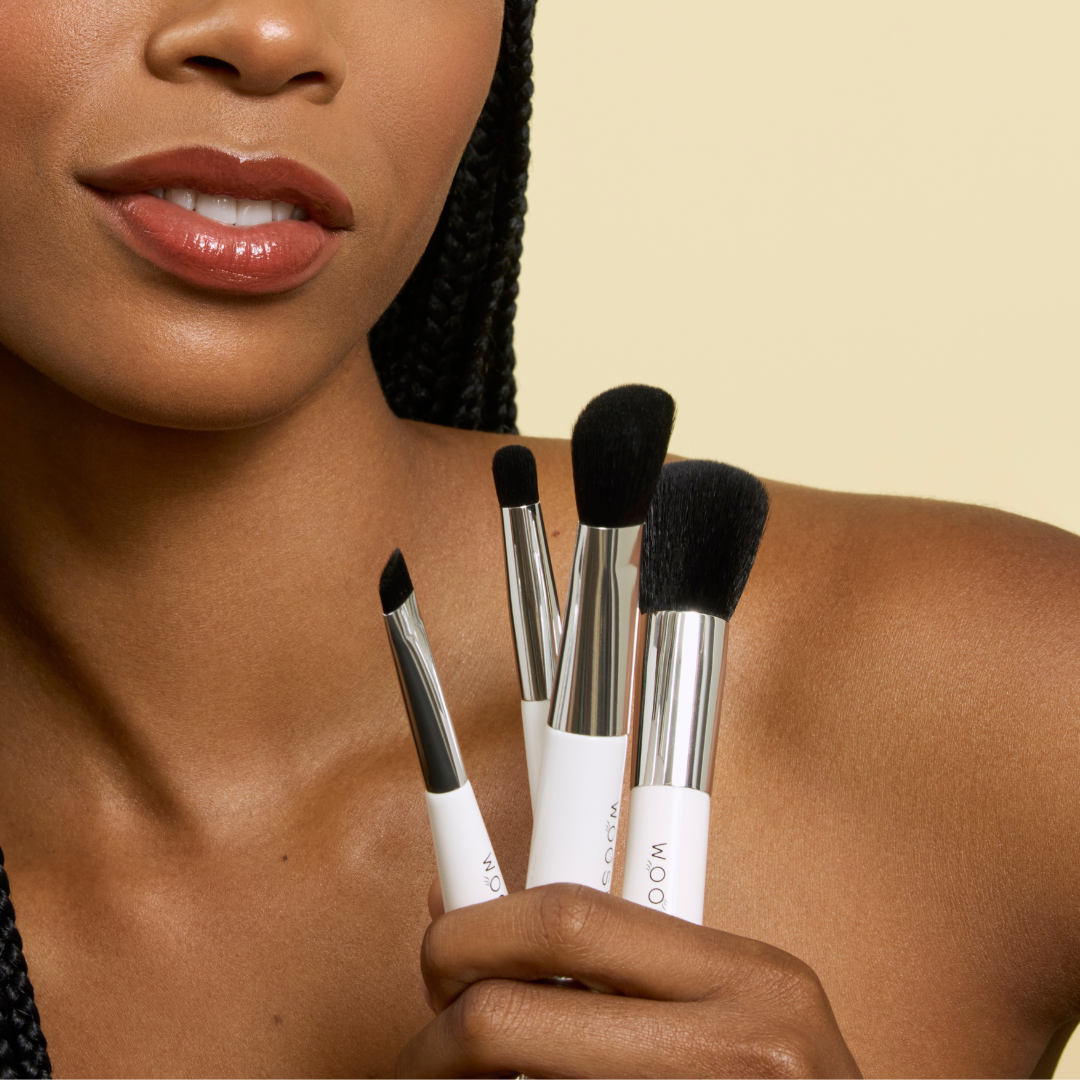
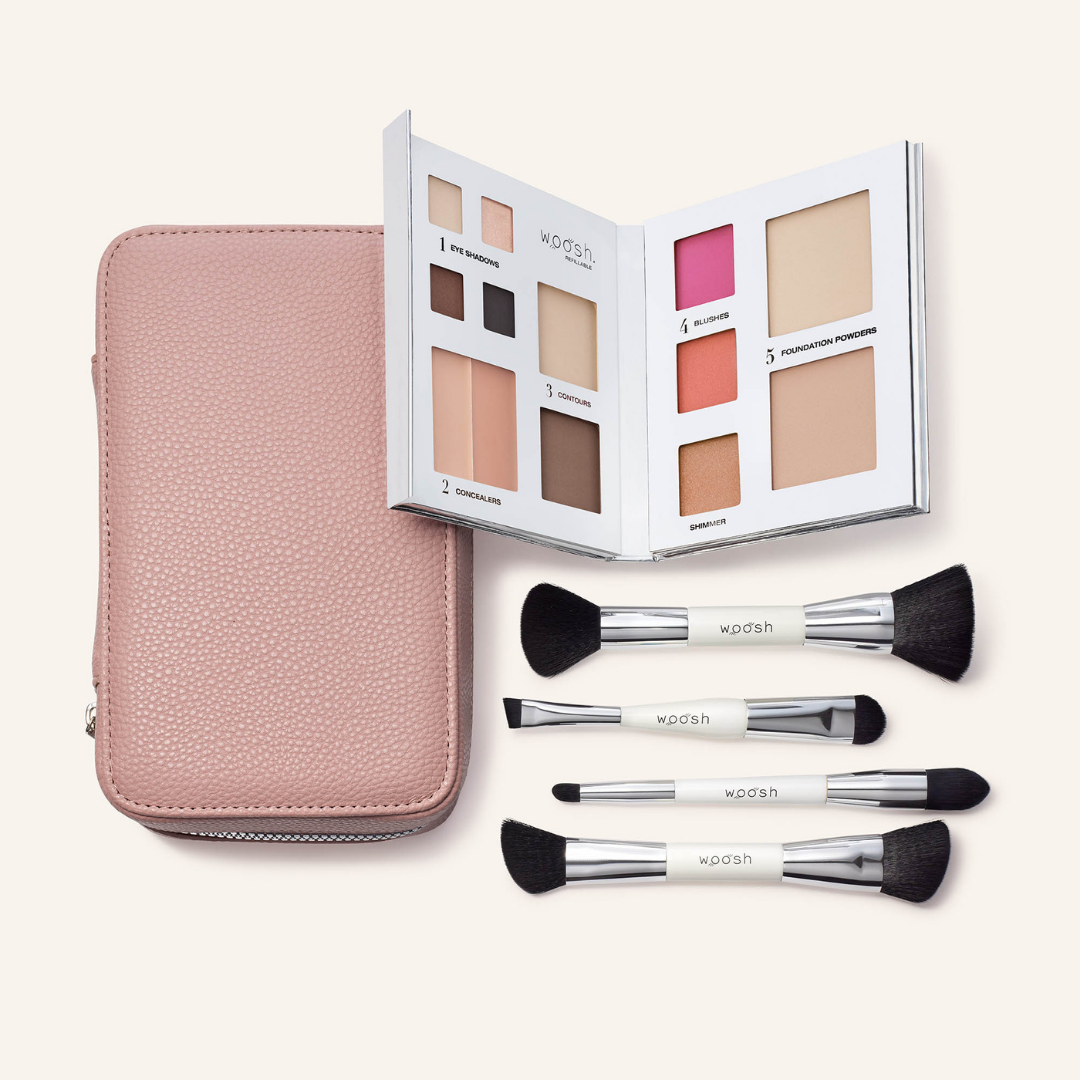
Using the Fold Out Face all-in-one makeup palette with Essential Makeup Brush Set, you can follow these 4 simple steps to master your everyday contoured face.
Step 1:
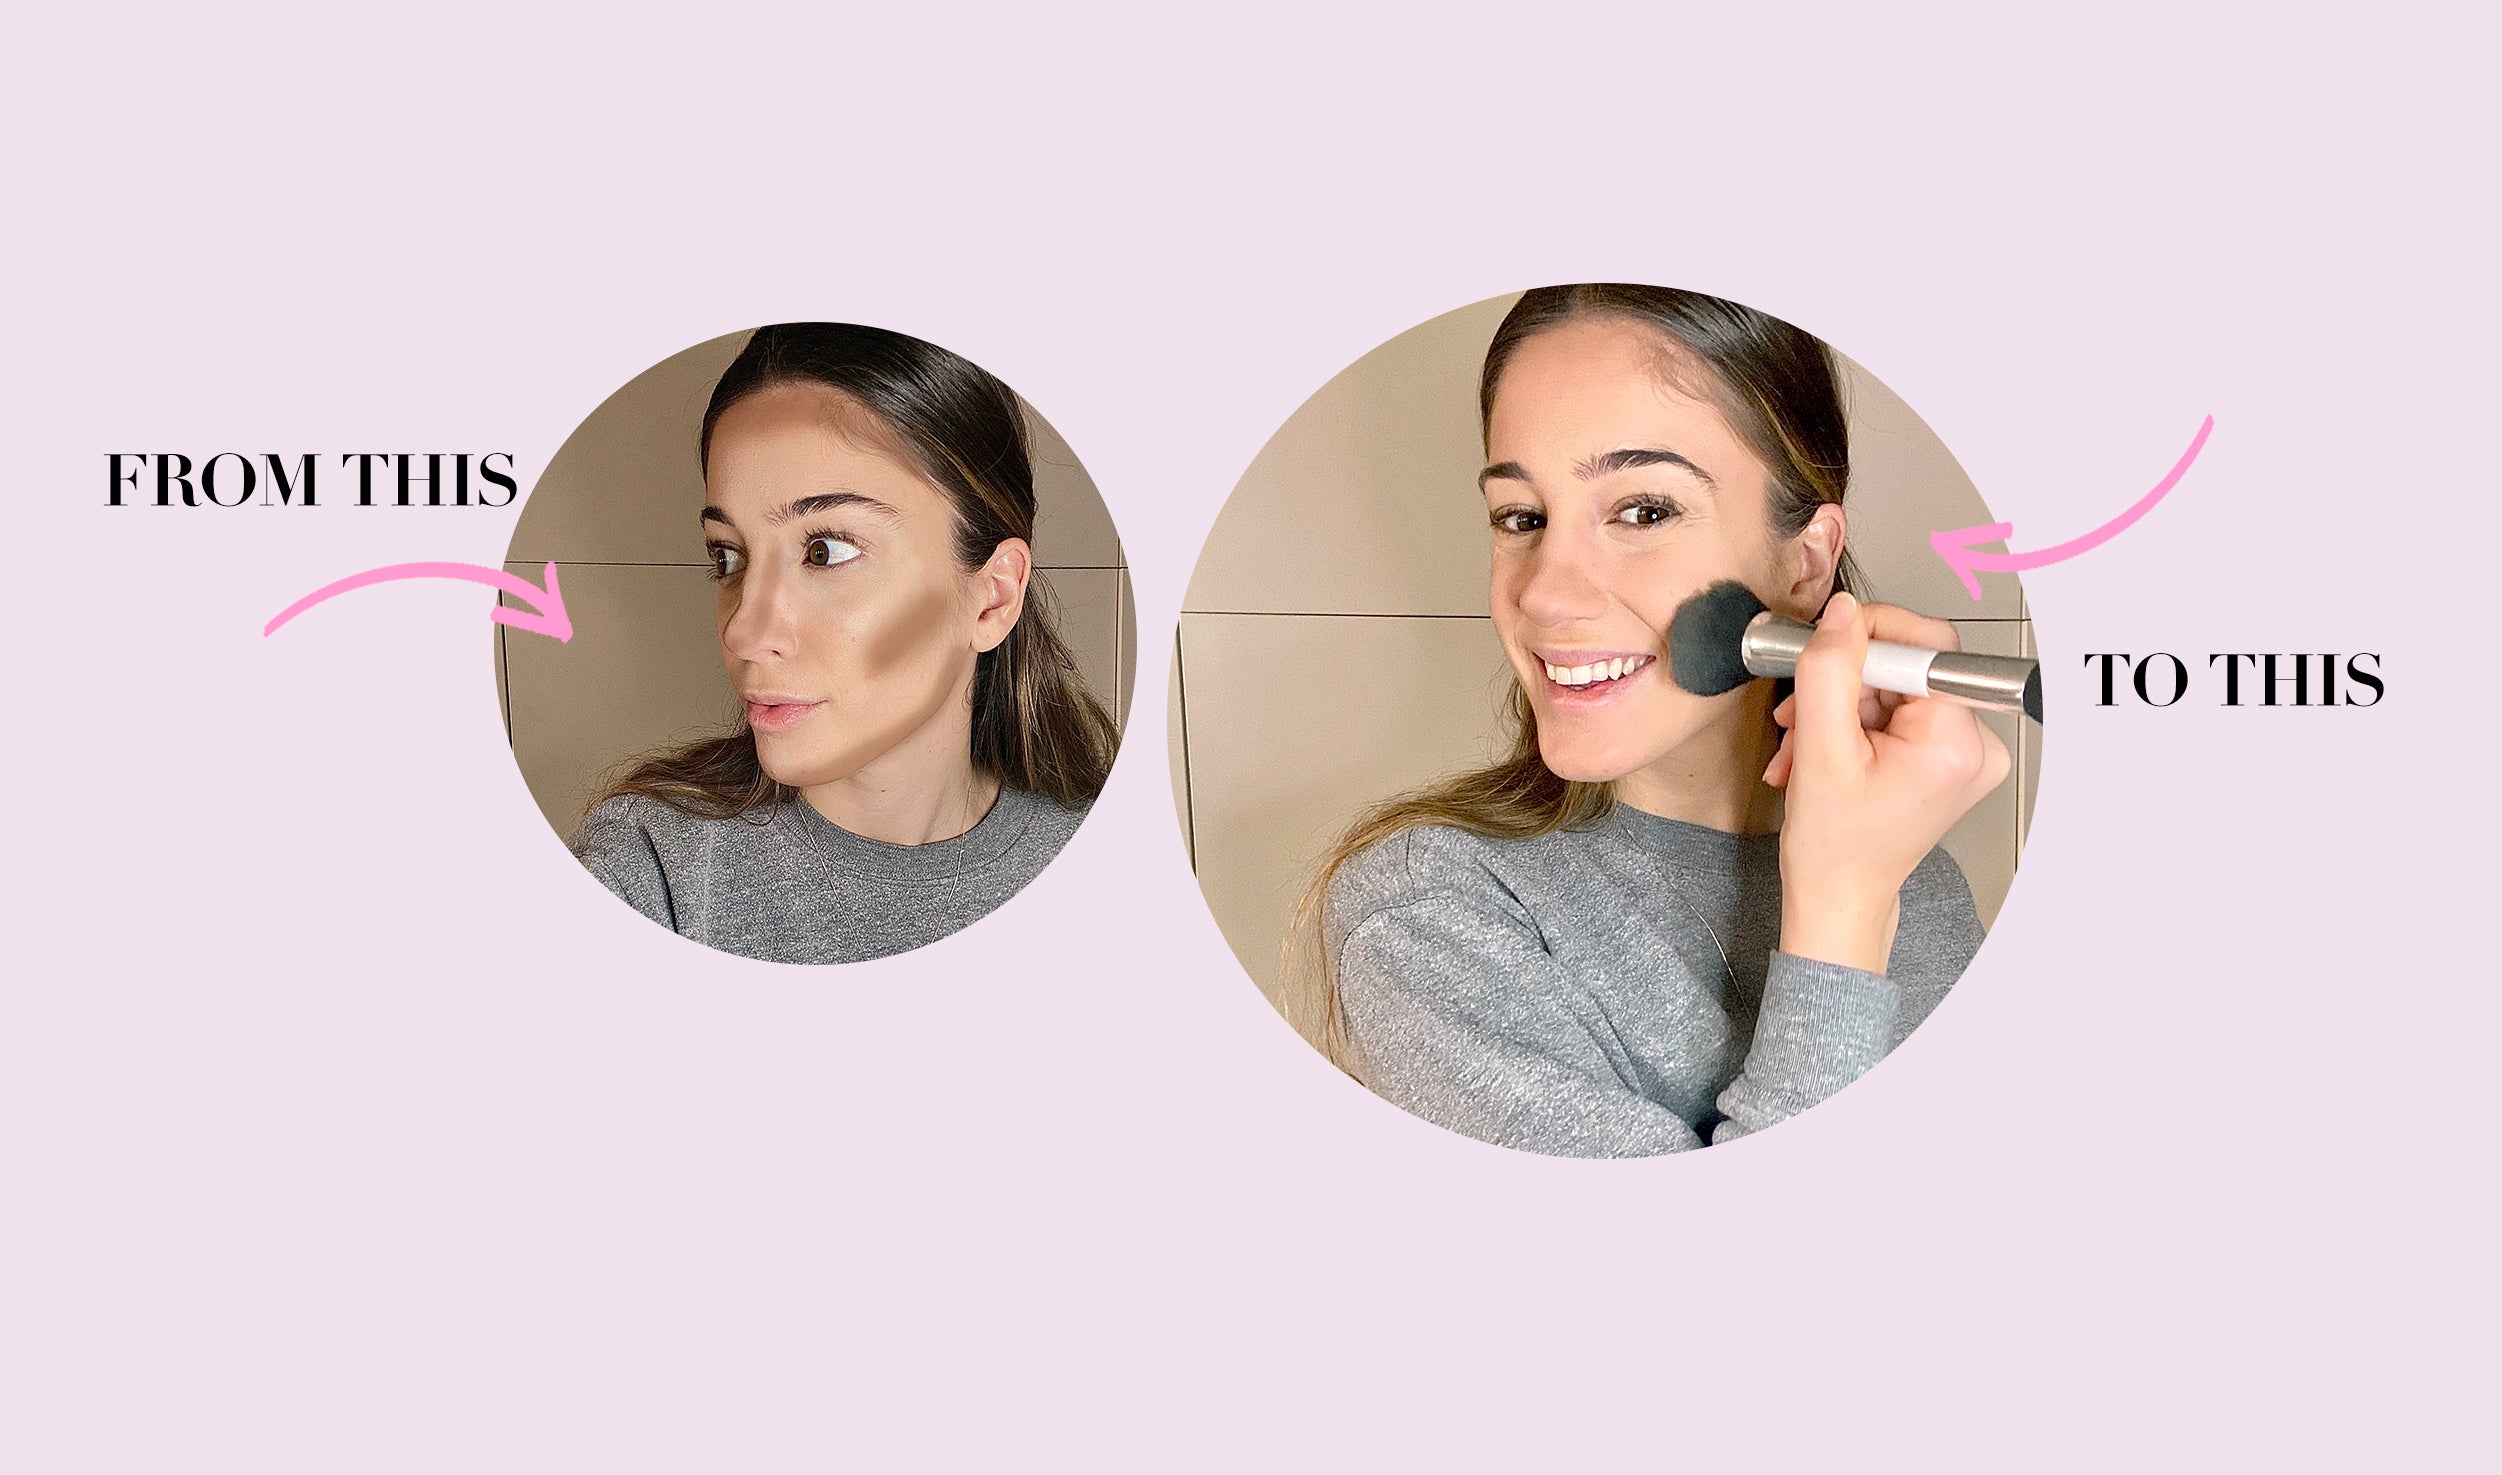
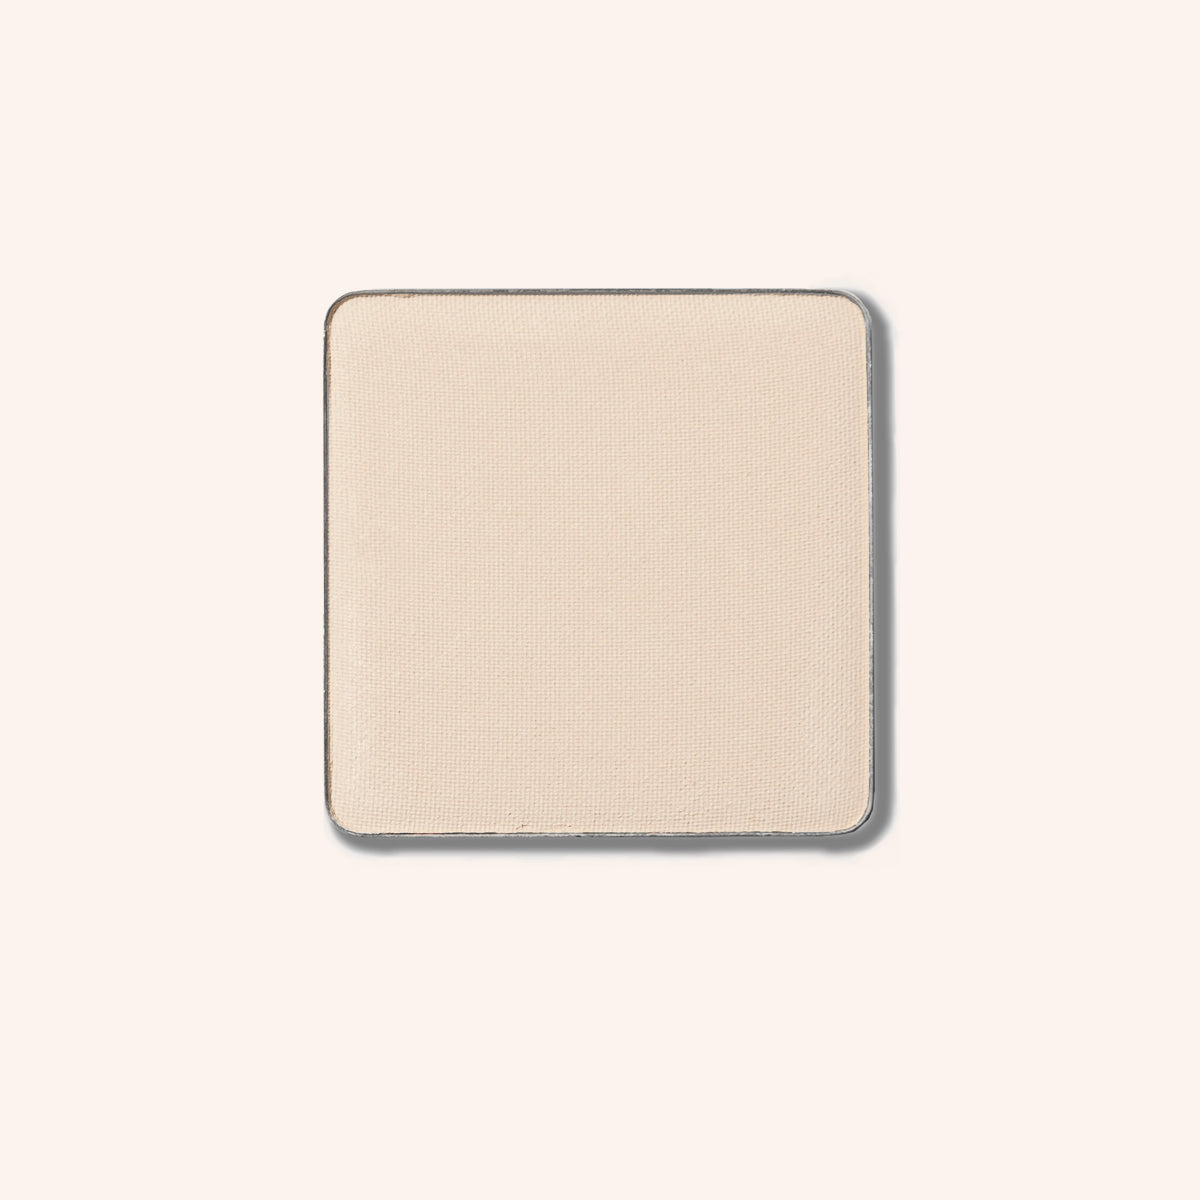
After applying concealer/foundation to your face, take the thinner end of your essential contour brush and apply the light contour shade, from your fold out face, under your eyes, in the center of your forehead, down the bridge of your nose & in the center of your chin.
Step 2:
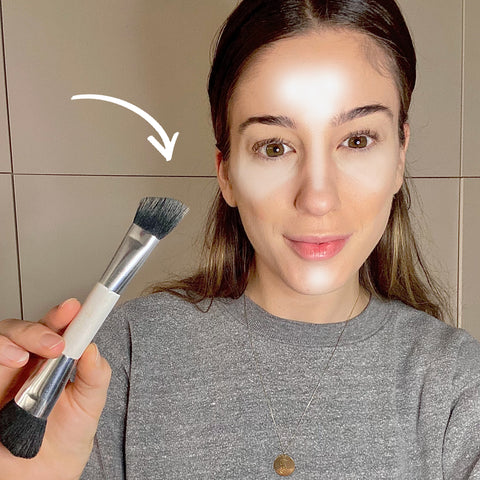
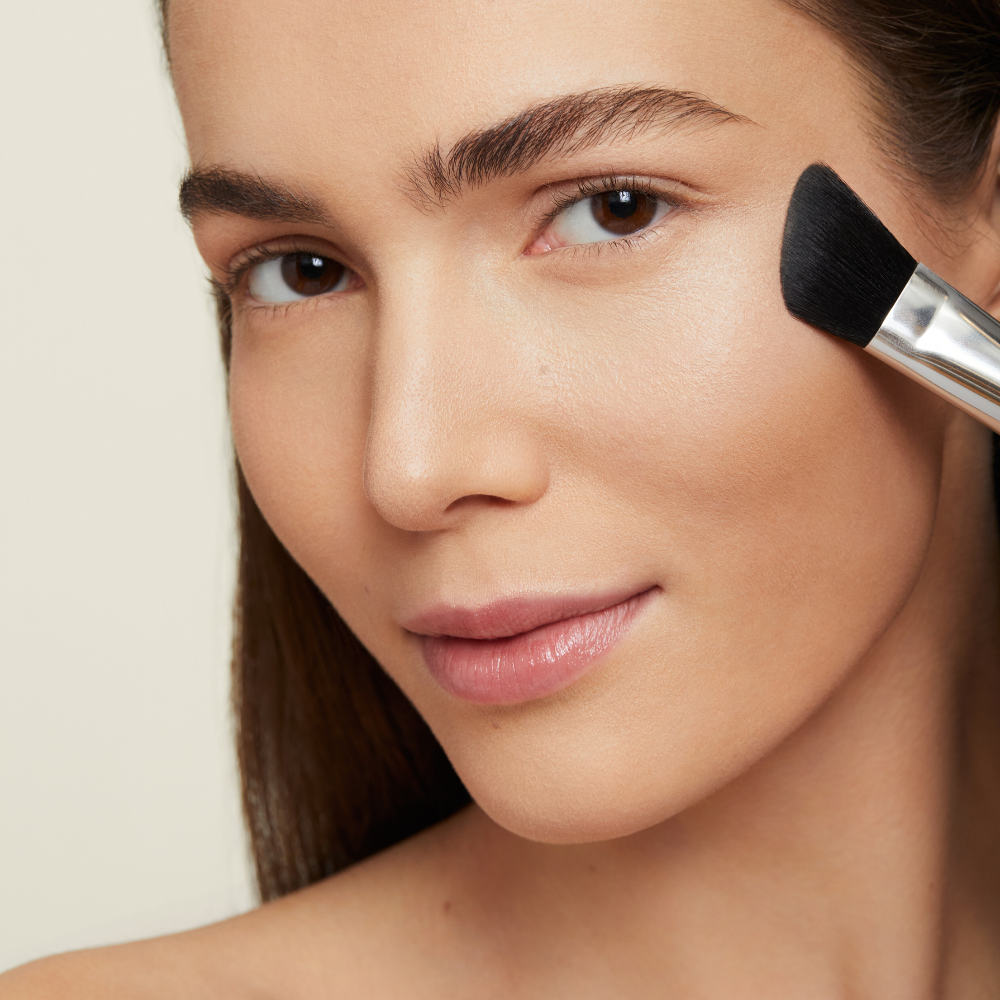
Flip the essential contour brush to the opposite, thicker end and apply the dark contour shade under the cheekbone first, then to your jawline, and then up near the edges of your forehead and hairline. *This is where that clown feeling may play a role*
(TIP: if you don’t know where “under your cheekbones” are suck your cheeks in to make a fishy face! Your cheekbones will naturally pop out and create great guides for you 😊 )
(BONUS TIP: if you wish to contour your nose, take a smaller brush (we used the domed end of our eye shadow brush) and apply the dark contour shade on either side of the bridge of your nose.)

Step 3:
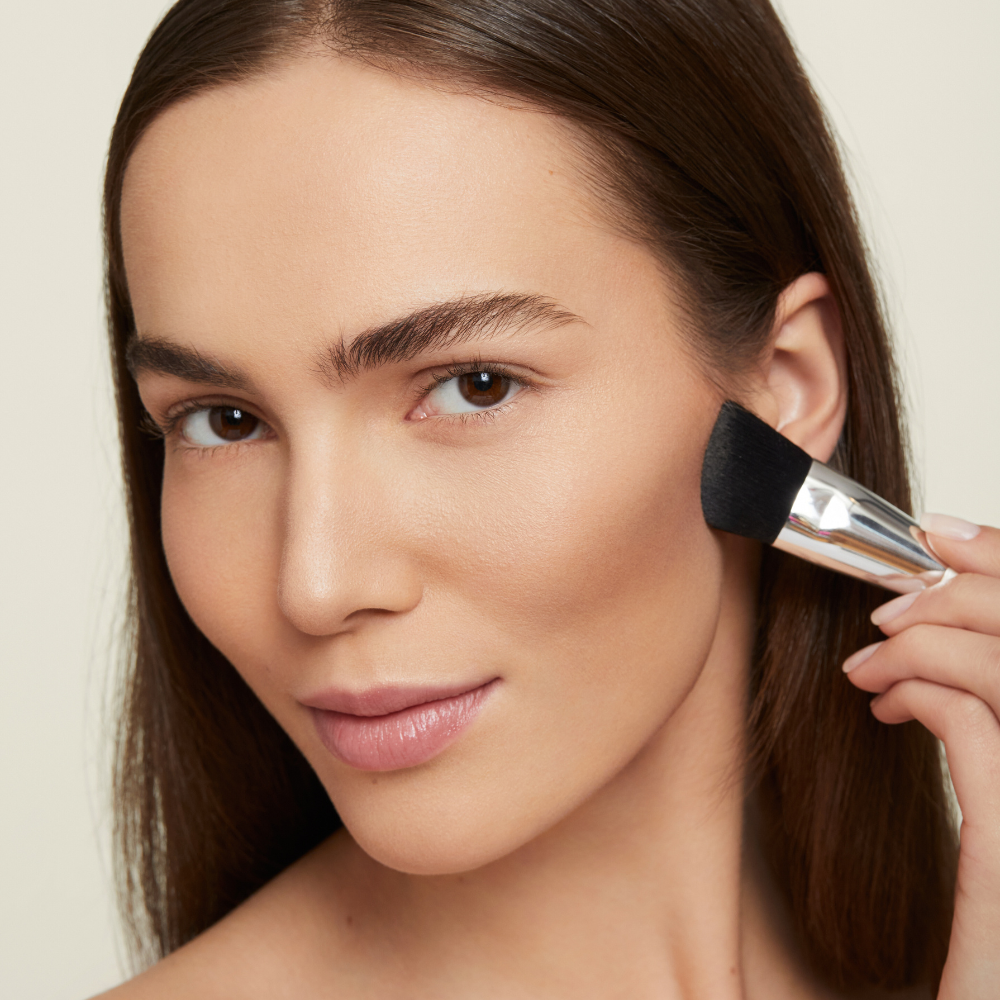
BLEND! After you've applied the dark contour shade in the areas listed above, take the thicker end of your contour brush and blend the dark contour in continuous circular motions upwards and/or outwards! After you’ve blended the shades together, you should see some dimension in the areas you both highlighted and diminished!

Step 4:
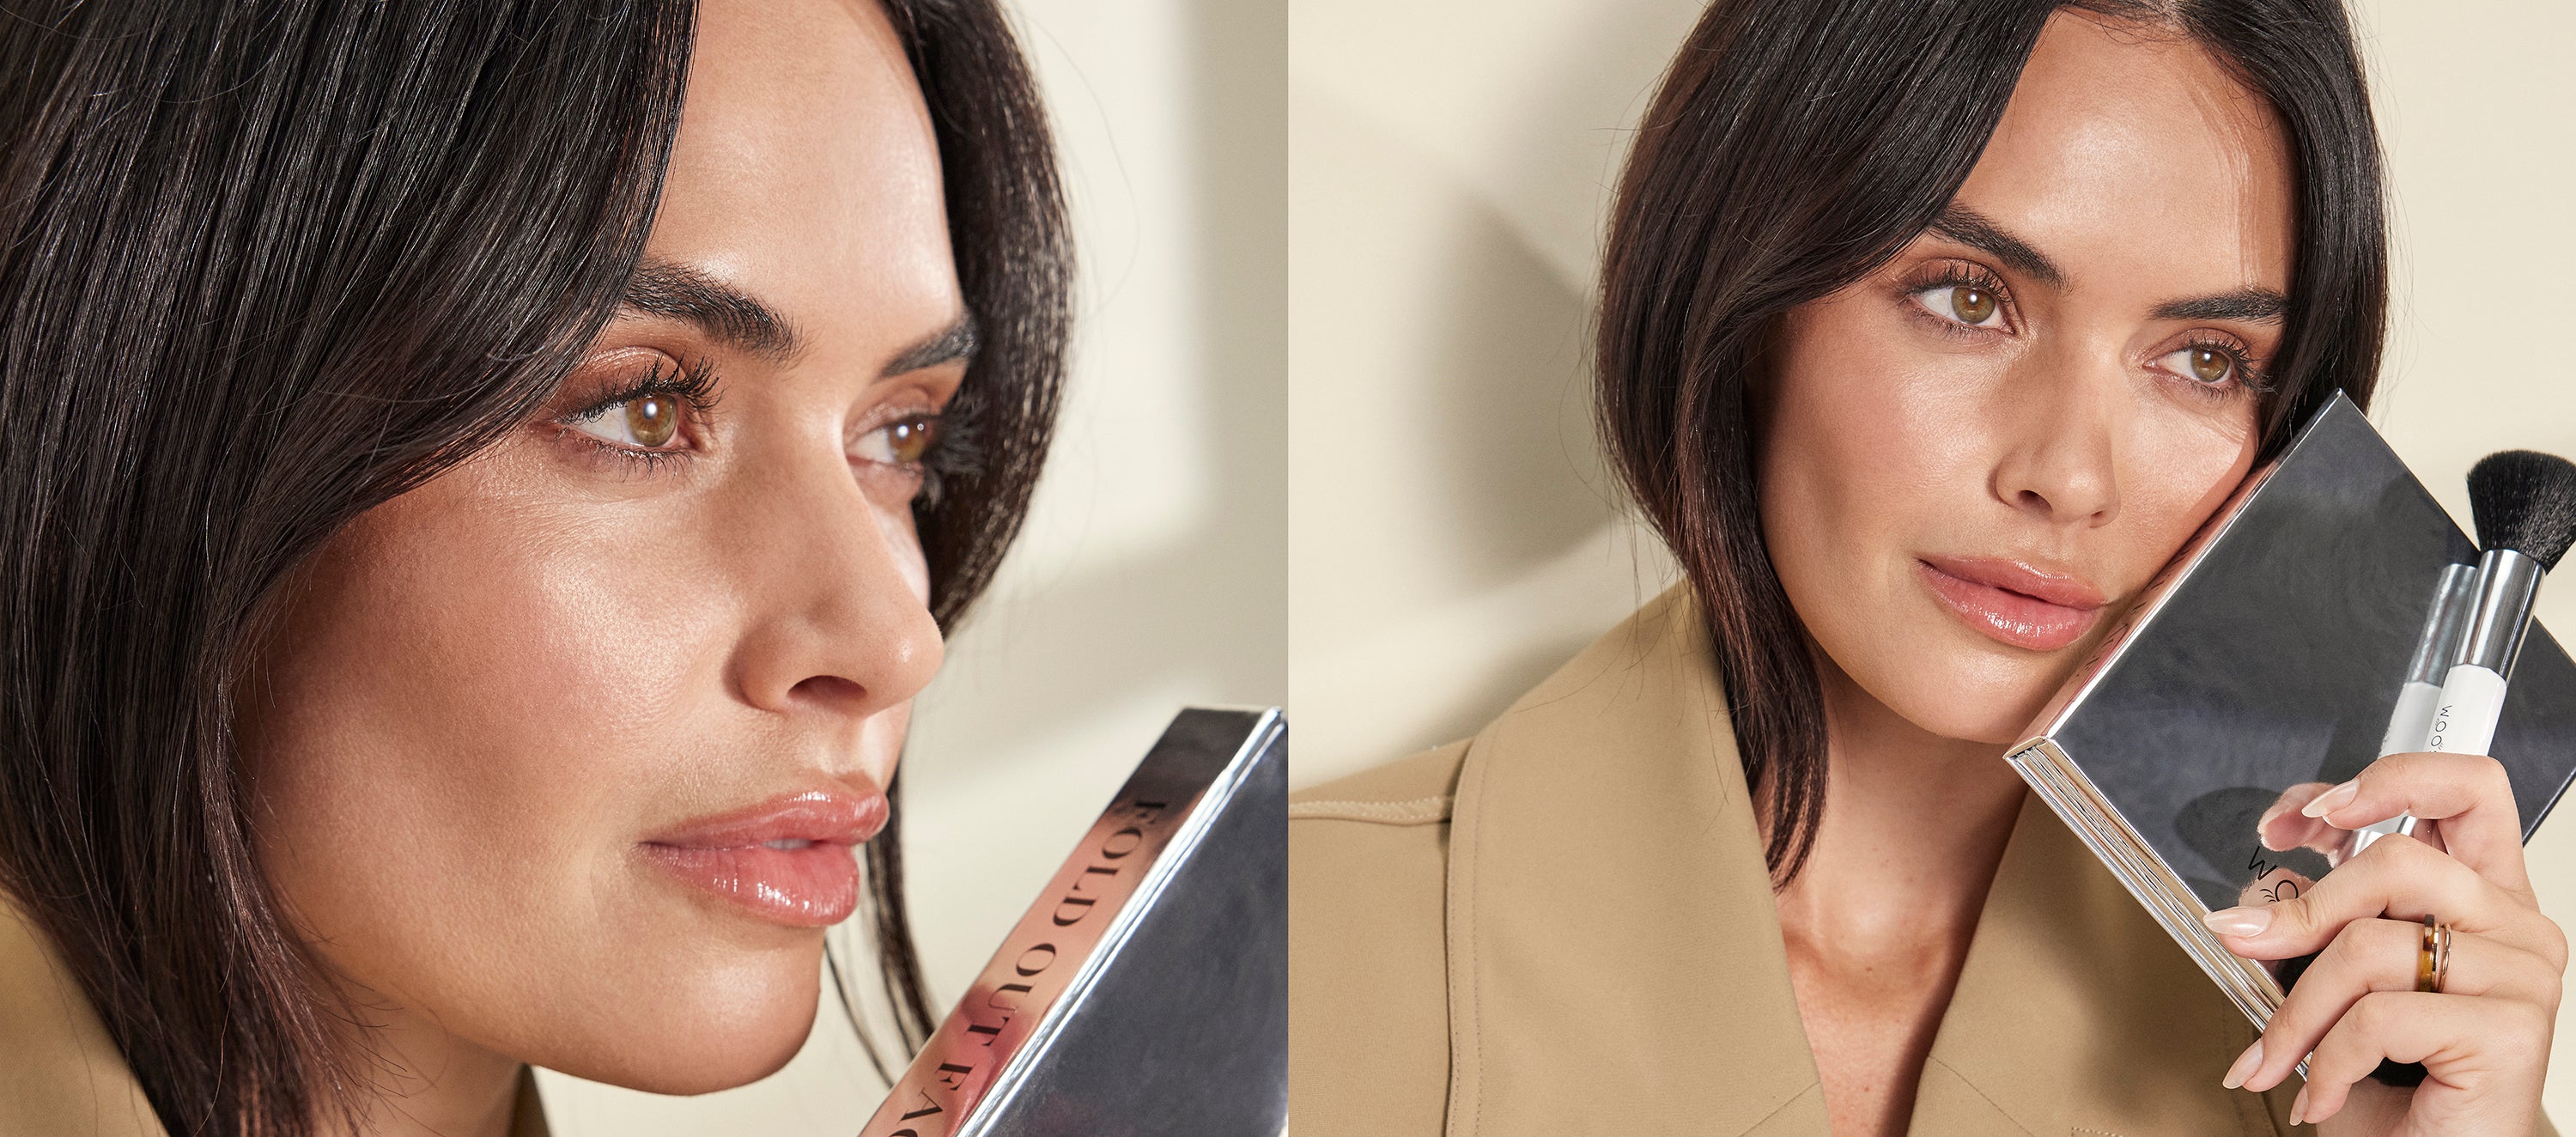
Now it’s time to get that airbrush finish! Take a big blending brush(we use the essential blush and blend brush) and apply the blender shade of choice (found in your fold out face) all over your face in big circular motions!

BINGO! Pick up a Jetsetter Bundle for 30% OFF now and have everything you need to carve, contour, and create limitless makeup looks!


,%C2%A0today%20is%20also%20a%20day%20of%20rest%20and%20recovery%20from%20yesterday's%20fo...)