THE GREATEST (AND EASIEST!) CONTOURING TIPS FOR NEWBIES
Ever found yourself staring at ‘that’ friend whose makeup is always perfect, wondering how (like, truly, HOW?) they acquired the skills to create such flawlessly contoured makeup?
We used to feel that way, too. Until we realized a very important thing: full-on contouring that takes hours to master is not, how shall we put it, all that ‘real.’ Of course, makeup’s entire existence is to highlight, shape, blend and define your features, but here at Woosh, we don’t believe it should change the entire way you look. Are we right or are we right?
So let’s forget about the type of extreme contouring that Kim Kardashian is famous for which, let’s face it, is almost impossible to achieve without an army of makeup artists at your beck and call. Everyday makeup doesn’t require that level of contouring perfection, anyway. Instead, think of contouring as a way to subtly enhance your features and face shape, not to completely change them.
Want to get on board with that, but aren’t sure where to start? Then read on for some of the best contouring tips for beginners.
But First, What Is Contouring, Exactly?
You may think that contouring has only been a thing for the past ten years but using light and shade to shape the face is a trick that’s been used in the drag community for decades. Ditto, Hollywood. Picture those black and white photos of silver-screen sirens like Greta Garbo and Marlene Dietrich. Do you really think they were born with such sculpted cheekbones, high arched brows and slimline noses? Hint: they weren’t. Instead, their features were ‘honed’ with very clever contouring skills from Tinseltown’s finest makeup artists.
You see, contouring is one of the most effective ways to sculpt your face. Not only does it make the most of your best features by helping them to appear more prominent, but it can also build shape where there otherwise might not be much. The basic theory is that highlighting or brightening makeup reflects more light, thus drawing attention to certain areas to make them look bigger. Conversely, darker contouring makeup creates shadow, amplifying angles and defining bone structure. It basically gives definition to areas that might otherwise be lacking.
When you put the two together – subtly, of course – you can create some beautiful, contoured looks that look extremely natural for everyday wear.
You just need to know how.
What You Need For Contouring
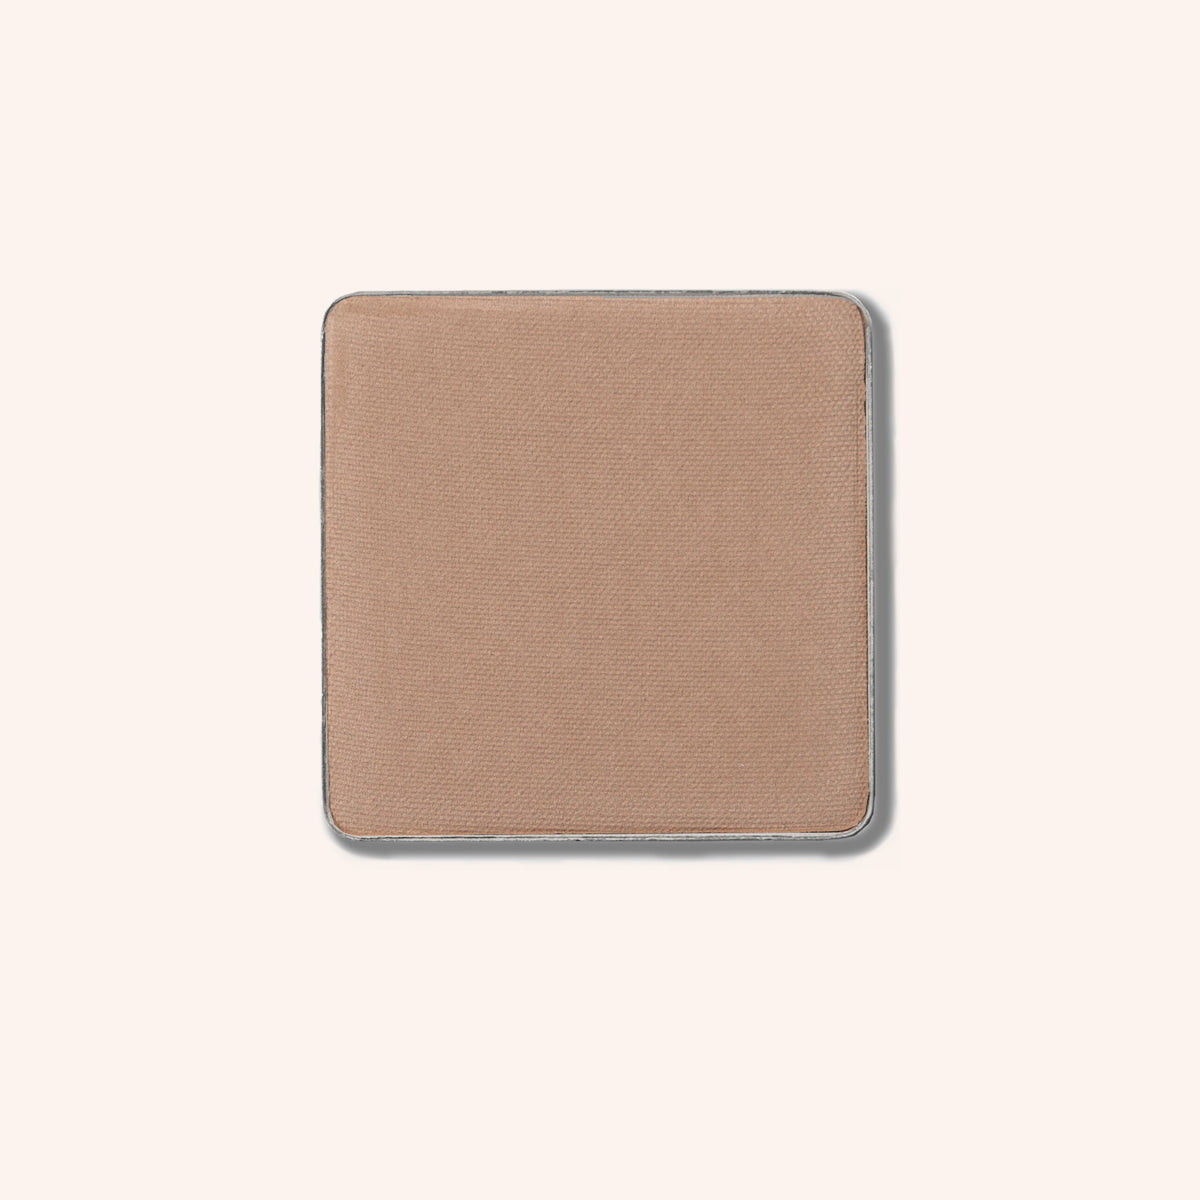
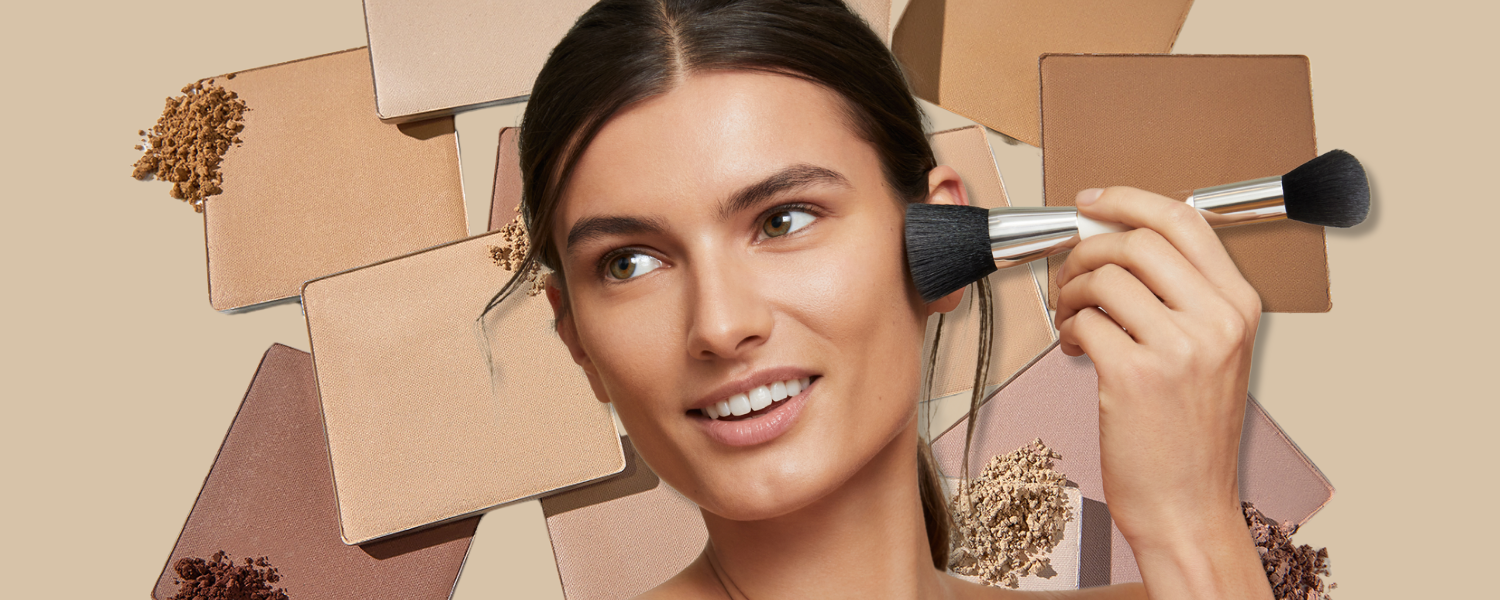
- A dark contouring product that’s around two or three shades darker than your skin. Stick with tones that err more towards the cooler palette for a more natural finish and go for a powder formulation rather than a cream or lotion. Powders are less intimidating to use and way easier to blend. *
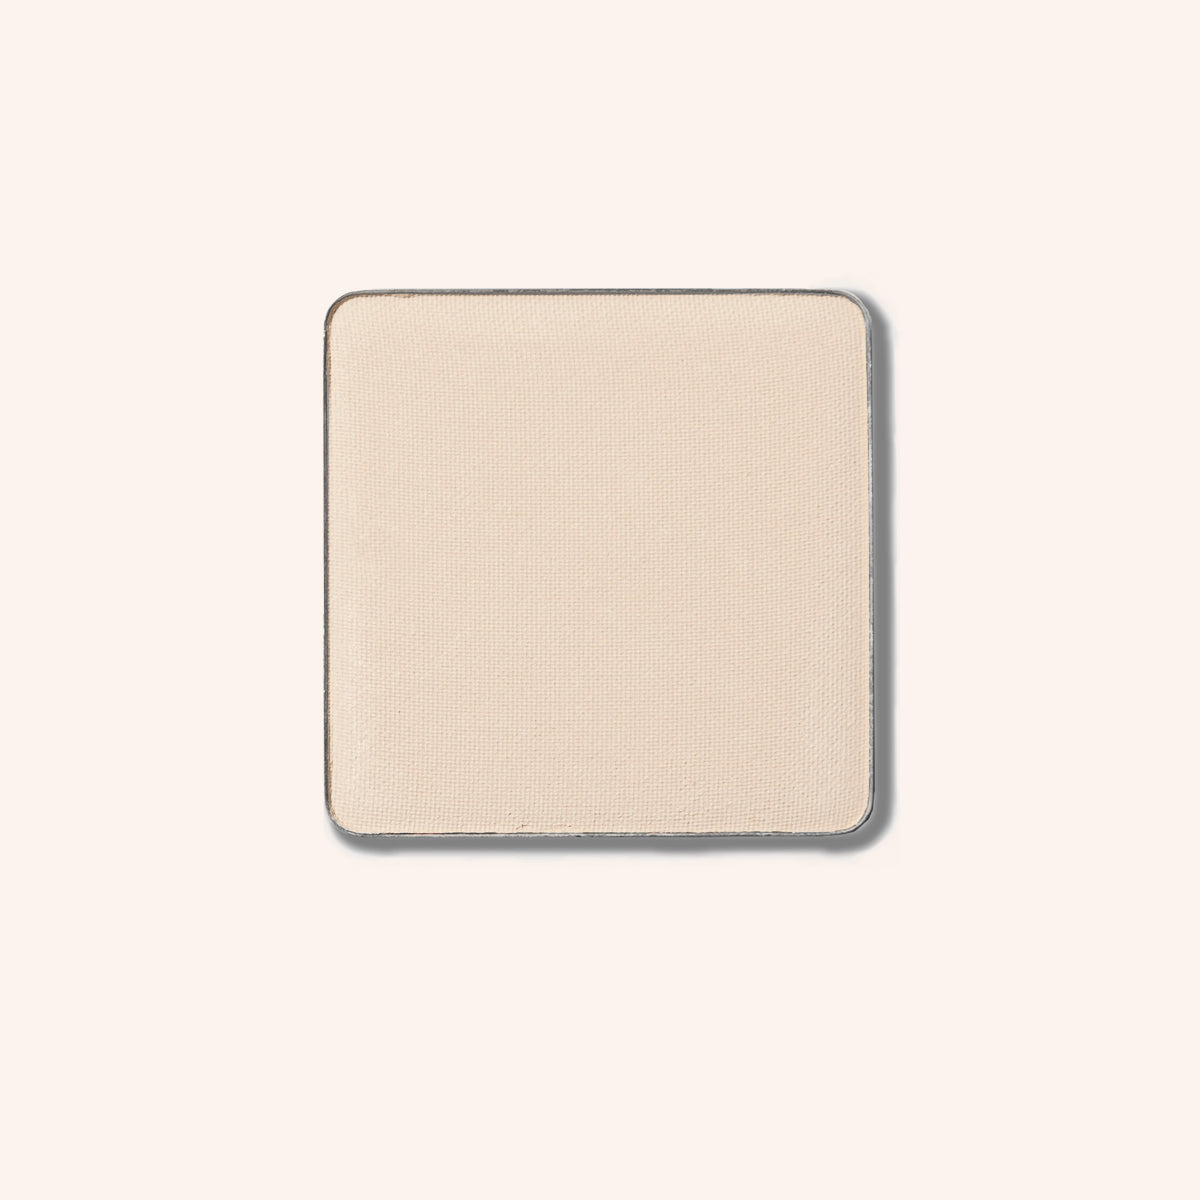
- A lighter contouring product that’s no more than two shades lighter than your skin tone. Again, stick with a powder formulation for ease and subtlety. *
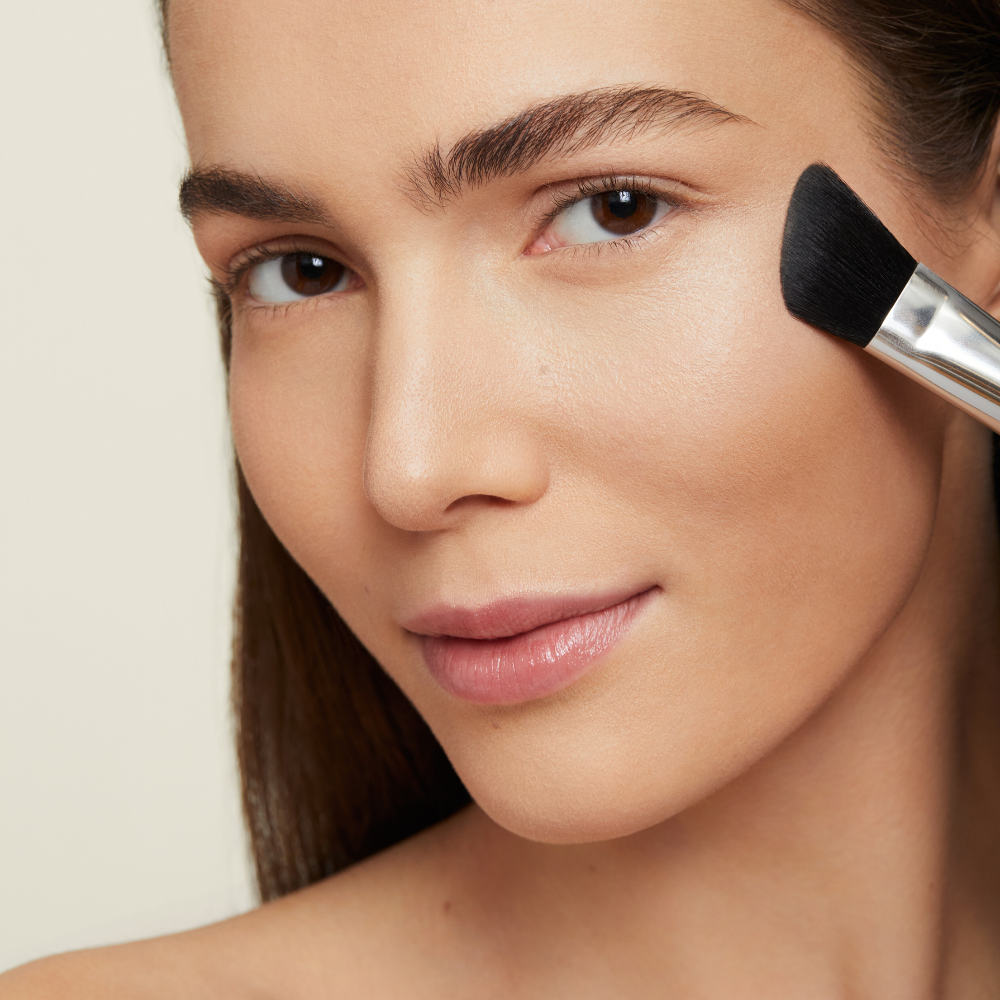
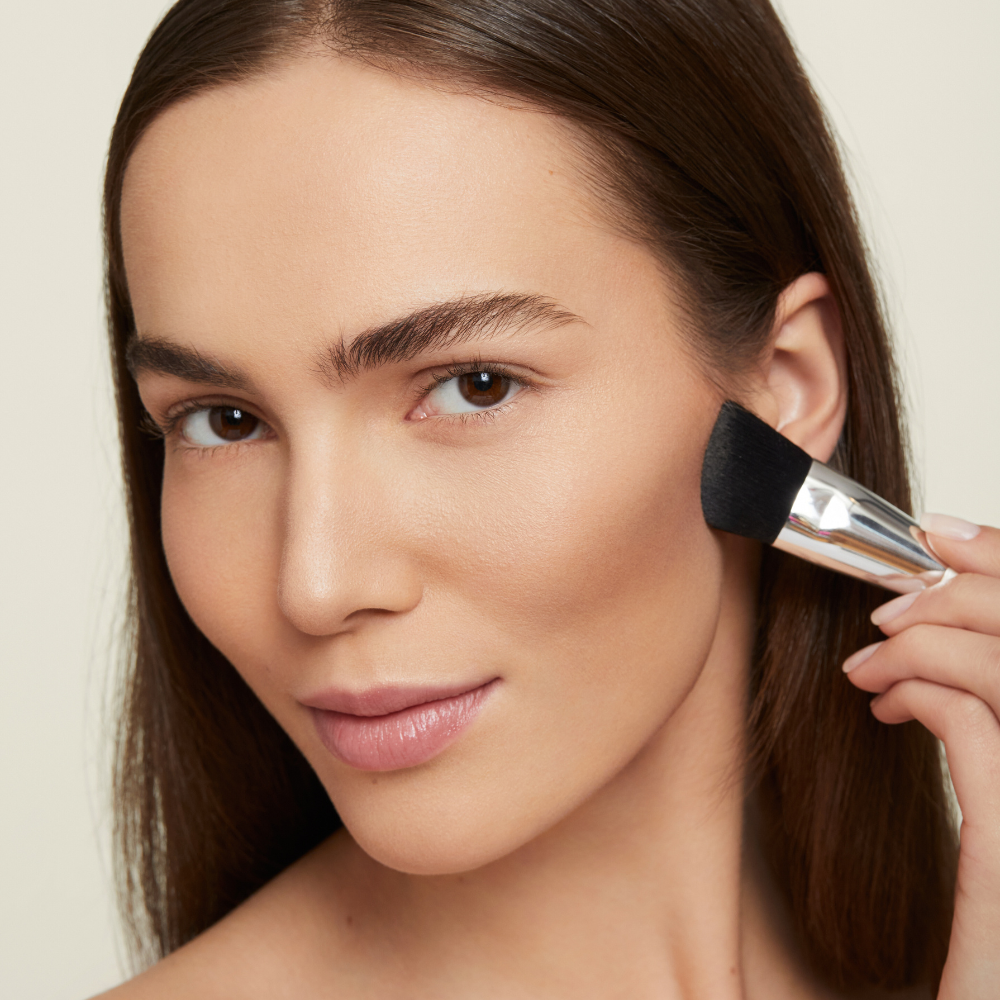
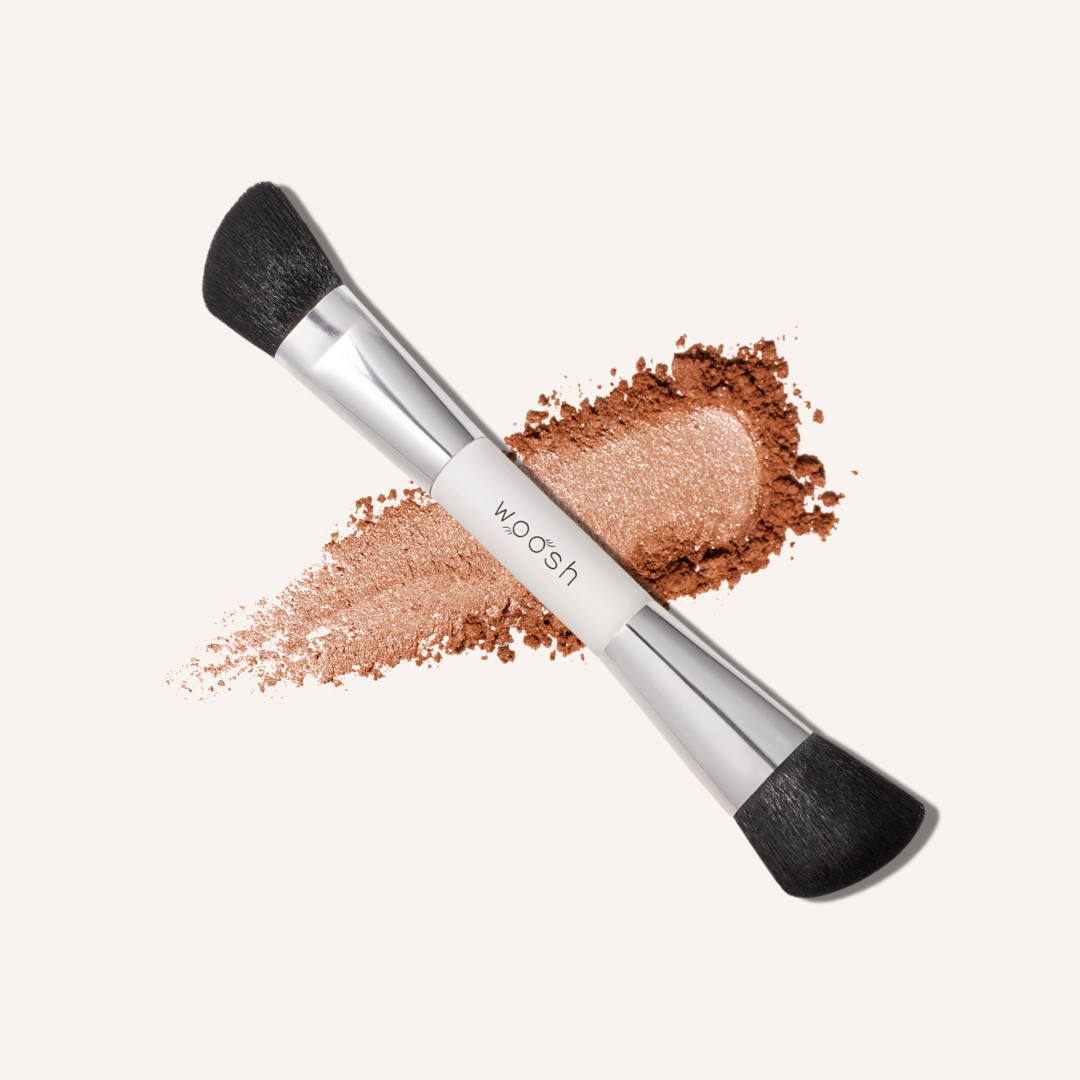
- A soft bristled, powder brush that’s angled to make contouring just that little bit easier. Try The Essential Contour Brush.
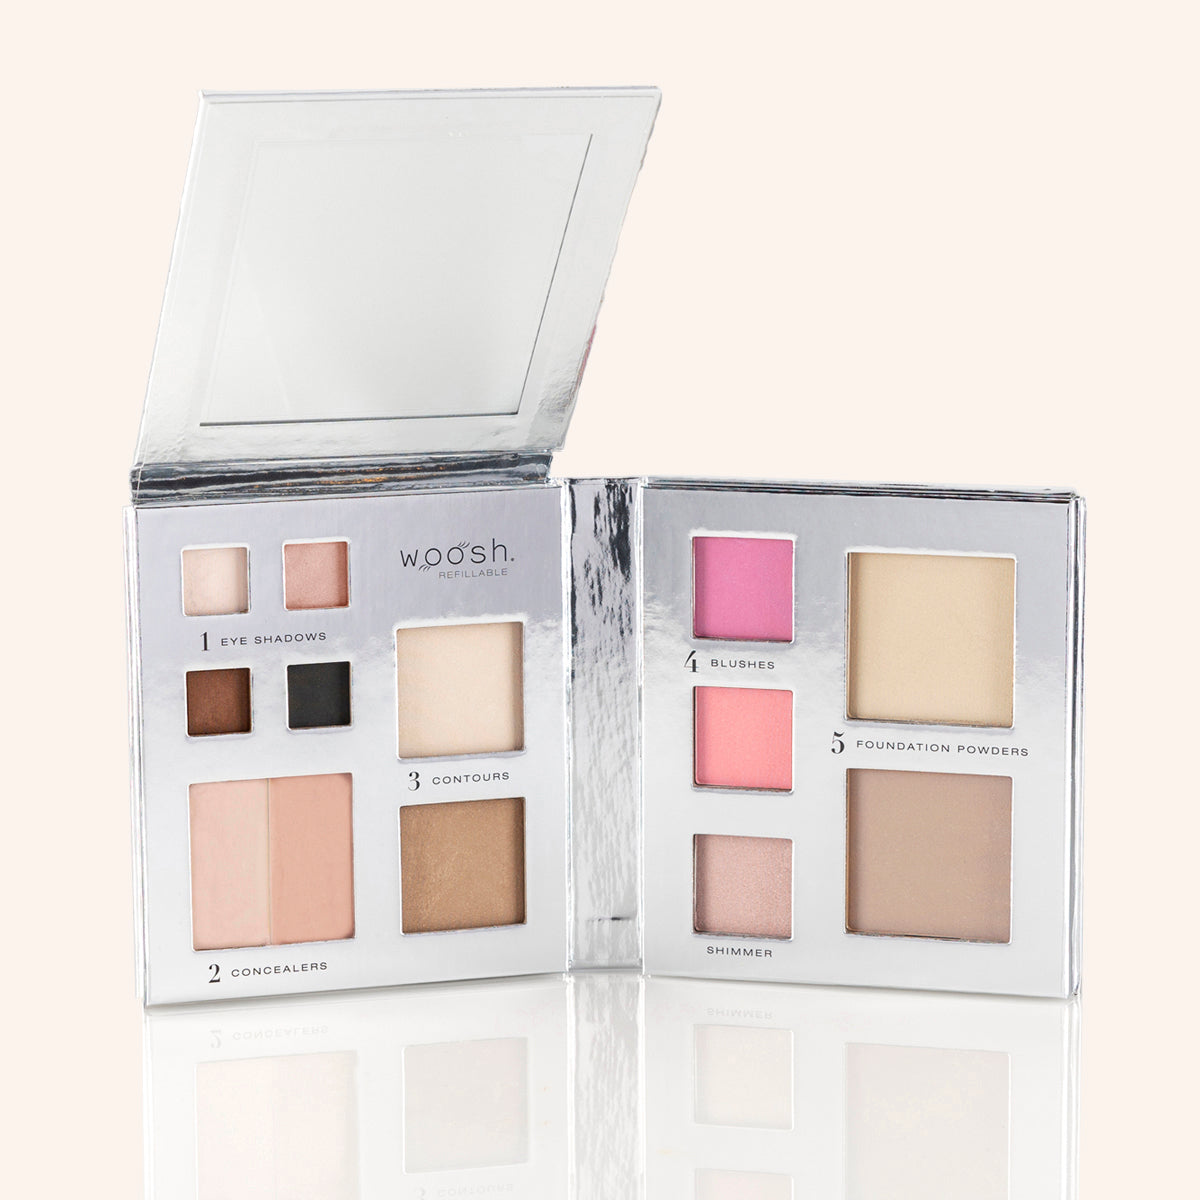
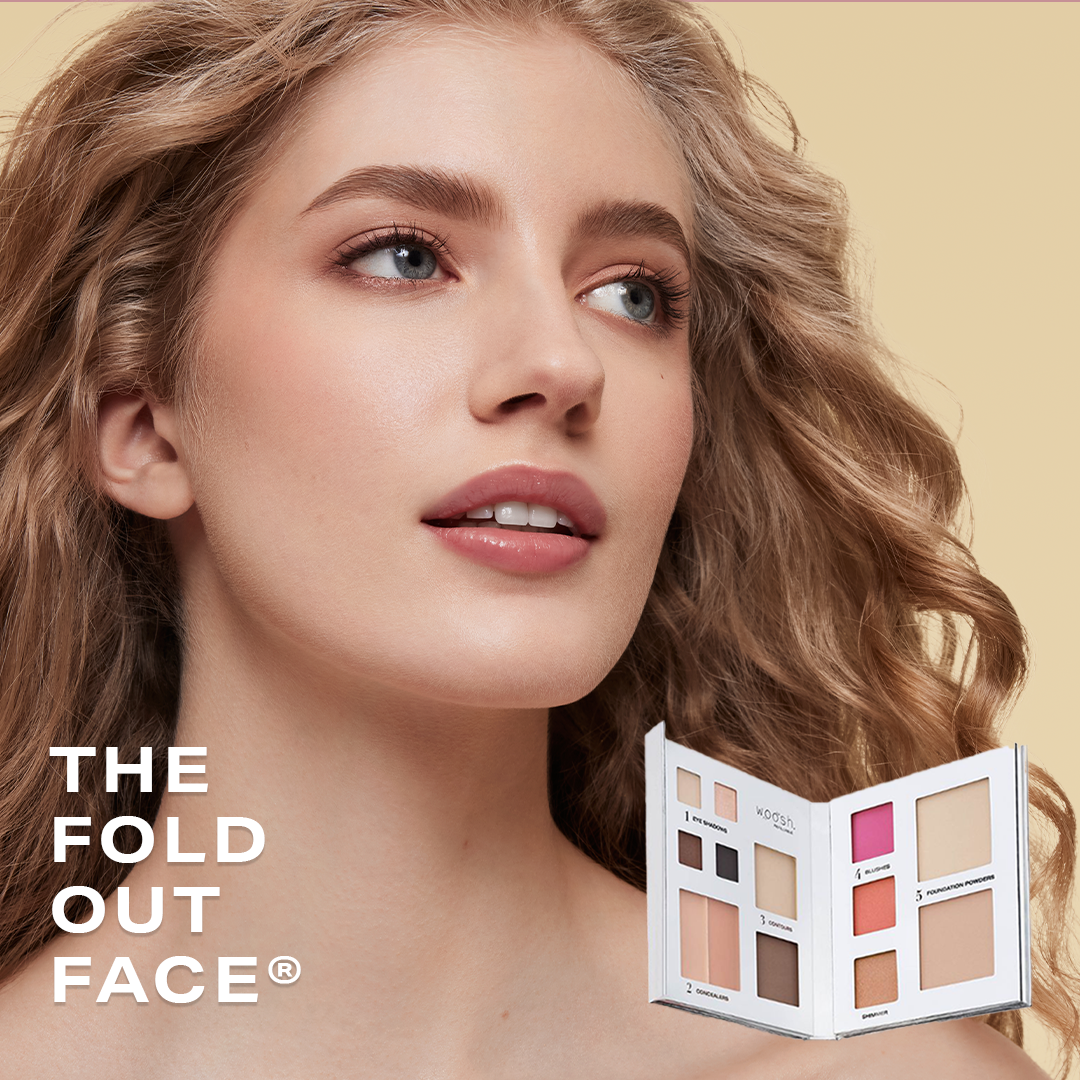
* Great news! Our Fold Out® Face Refillable Palette comes with two contour powders – one light and one dark – curated specifically for your skin tone.
Should You Contour Before Or After Applying Foundation?
There are no hard and fast rules here but as long as you’re working with powder formulations we believe your foundation should come last. This helps to blend and blur the rest of your face makeup for a totally natural finish.
On that note, prime your skin first, then use concealer to fade out any dark circles, red patches or pimples. Contour next, then apply your blush/bronzer and, finally, foundation.
Know Where To Contour
This is up to you and depends on what you want to achieve and/or how far you want to go. The best place to start, however, is underneath your cheekbones because, let’s face it, we all want our cheekbones to look more sculpted. Then focus on any areas you want to define, shape or slim down. Along the jawline, around the hairline and down the nose are the most common areas but how much or little you want to contour is totally up to you.
How To Contour, Step By Step
The following is a guide to contouring your entire face, but feel free to pick and choose which areas you want to concentrate on. It’s your face, after all.
OK, let’s do this.
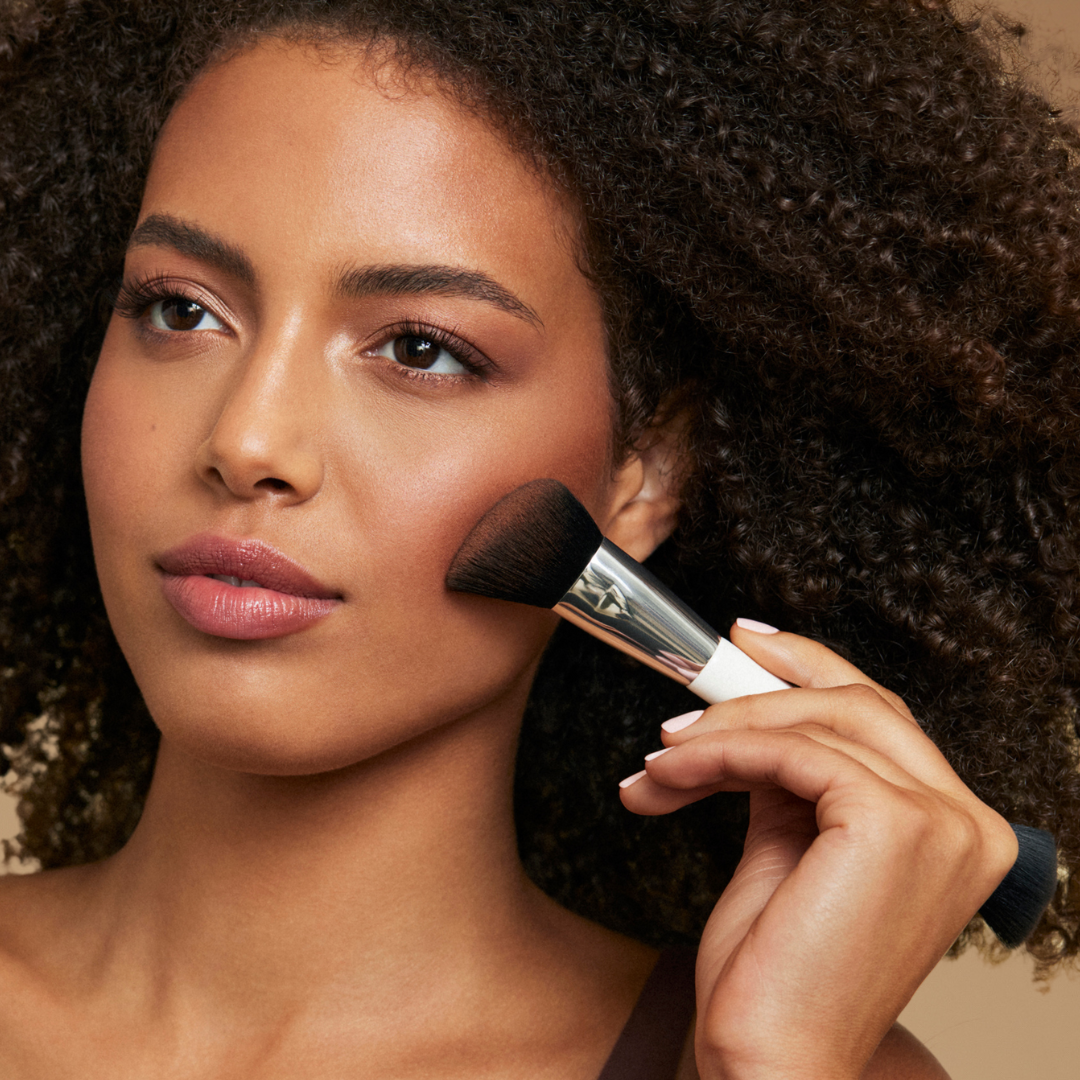
1. Cleanse, tone, moisturize and prime your skin first, then grab your contouring brush and dab it into your Dark Contour Powder to pick up a small amount of color – remember, it’s always wise to start lightly, then you can build as much as you like. Removing color once it’s there, however? Not so easy.
2. Start at the top of your forehead and sweep color along one side of your hairline, down to the cheek area. Work the brush back and forth until you like what you see.
3. Next, smile and sweep powder across your cheek, right below the highest plain of your cheekbone. Work it back up to the top of your ears, then repeat until you have a good amount of color to define your cheekbone. Add more contouring powder as you go, but don't go mad and continue to use a light touch.
4. Work your brush from the top of your ears, down the hairline and along your jawbone. It’s also wise to blend it lightly down your neck so you don’t get that tell-tale tide line.
5. Repeat on the other side and keep checking your handiwork in the mirror to ensure you stop when you’ve built up enough color to enhance your face without it looking too obvious.
6. Finish by sweeping a little powder down each side of your nose.
7. Happy so far? Then it’s now time to create light to contrast the shadow. Grab your Light Contour Powder and dust this over the high contours of your face – eg. the center of your forehead, the bridge of your nose, tops of your cheekbones, temples and above the cupid’s bow of your lips.
8. Buff and blend like your life depends on it. No joke. This is THE most important part of all.
See. Told you it was pretty simple.

