HOW TO COVER UP YOUR PIMPLES (THE RIGHT WAY!)
Why is that you can go the whole month with pimple-free skin, but just when you’re about to go out for dinner with your partner or for a night out with your besties, a big old zit decides it wants to come along for the ride? So. Freakin’. Annoying. But, thankfully, not the end of the world. One word: makeup…
Hands up if you still get pimples even though puberty happened, like, forever ago. You’re not alone. Adult acne is very real and affects around 25 percent of women in their 40s. And if you’re still in your 20s? Then this figure goes up to a whopping 50 percent! (1).
Zits are no fun. You know that and we know that. However, acne is nothing to be ashamed of. It doesn’t mean you have dirty skin or a cruddy diet. It’s just a sign that you’re human and maybe your hormones are a bit out of whack right now. Or maybe you’re stressed about something and your skin, understandably, is feeling the strain. Both of these life occurrences trigger your sebaceous glands to go into overdrive, causing excess oil at the surface of your skin which combines with dead skin cells and blocks your pores.
All perfectly normal.
But as common as breakouts are, they’re still one of the most annoying beauty bugbears we can think of. Sure, we try not to let them get to us and, yes, we try not to squeeze them and make them 10 times worse, but c’mon, who, truthfully, does that?
Of course, good skincare choices are super important for warding off breakouts but even so, zits happen. And for those inopportune moments, we recently discovered Mighty Patch The Original. Seriously, why didn’t these overnight miracle workers exist 20 years ago?
Call us crazy, however, but popping stickers on our faces isn’t quite the vibe we go for in the daytime. Instead, we’re all about a little clever concealing with some of our makeup favorites. Here’s what we've learnt about how best to cover pimples…
1. Do The Groundwork
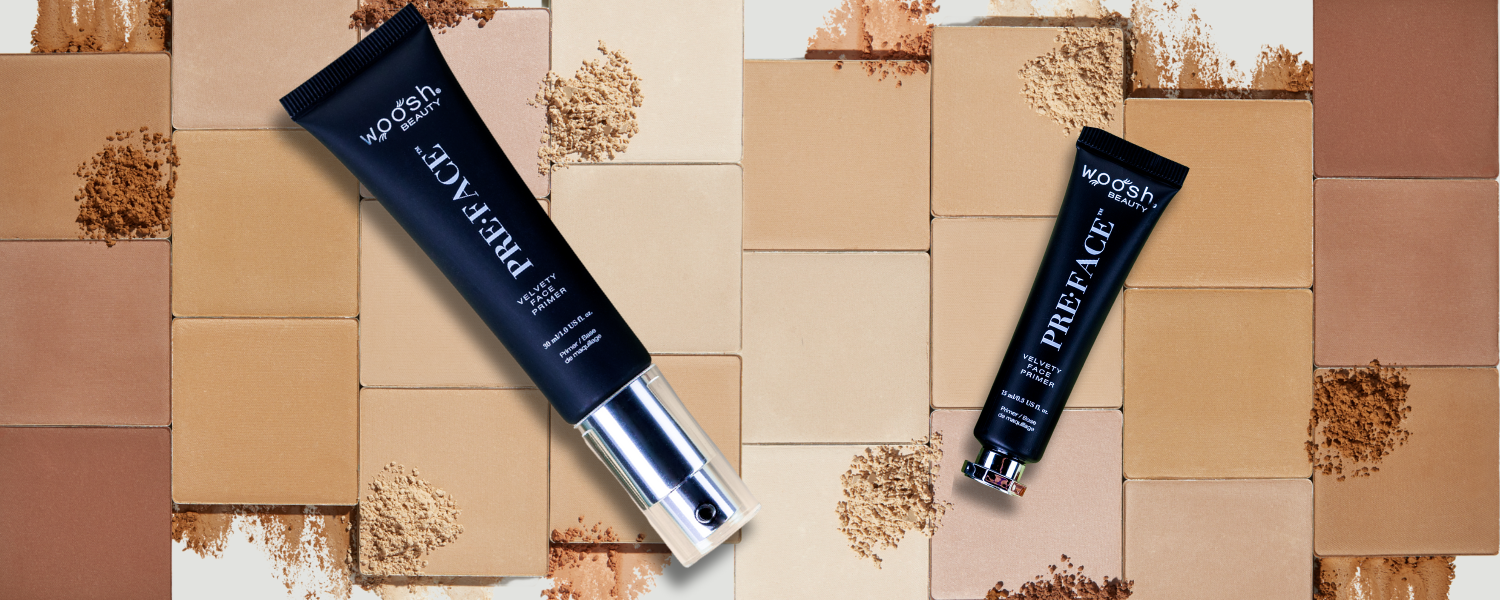
Preparation is everything so, for the best results, make sure you start with a clean slate. Cleanse, tone, gently exfoliate, apply a lightweight serum and then moisturize all over with an oil-free formulation. This will ensure your pores are clean, your skin is hydrated and everything is as smooth and healthy as possible.
And, word to the wise, don’t ever forget that moisturizing step. It might feel counterintuitive to put something creamy on breakouts, but if you leave the skin to dry out it will produce more oil to overcompensate. Which is asking for trouble. Also, sucking all the moisture out of your skin can leave it dehydrated and flaky. Not the best foundation for makeup.
PRO TIP: Try holding a cold compress to your zit for a minute or so to reduce swelling and inflammation. Do this before moisturizing for the best results.
2. Apply A Light Dusting Of Foundation First
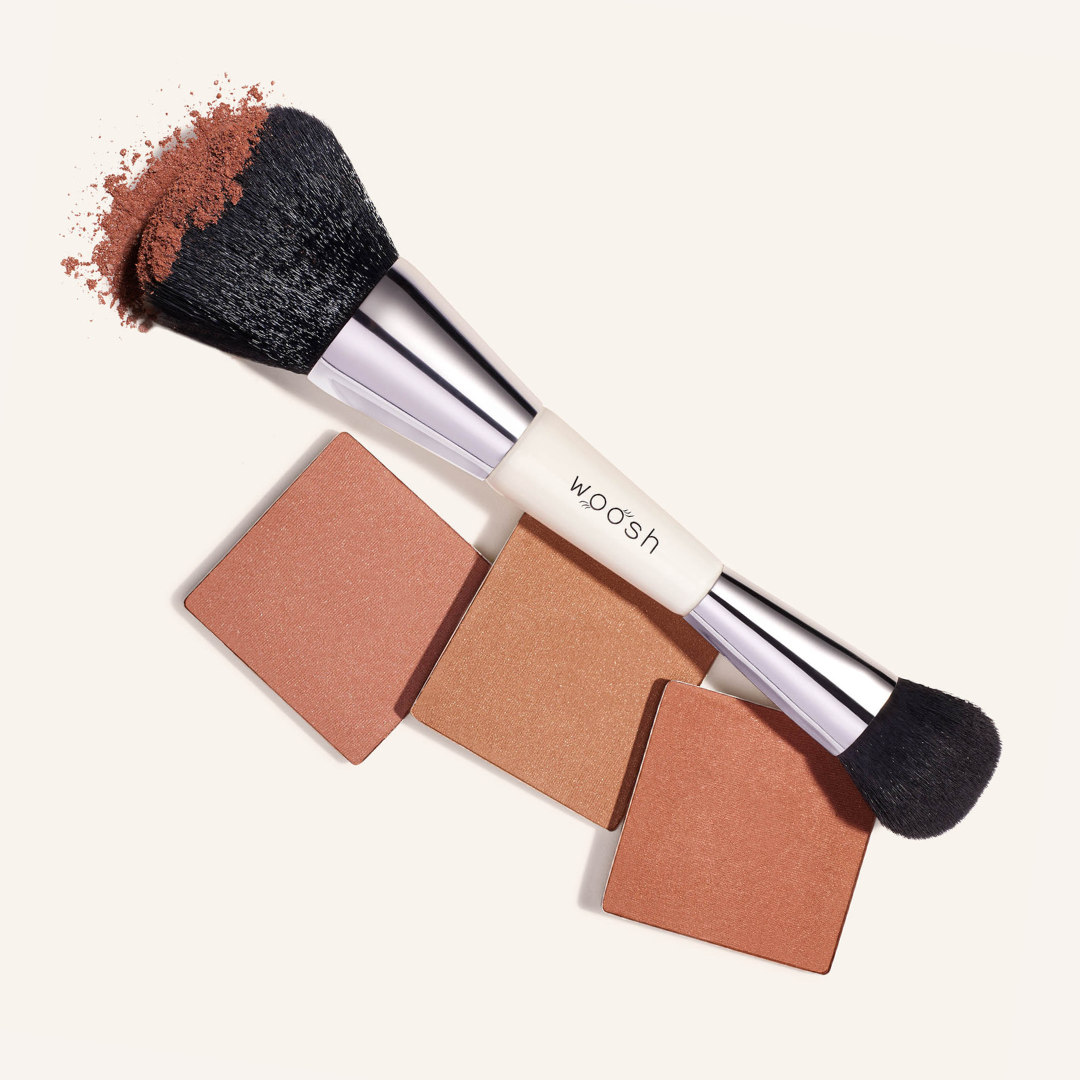
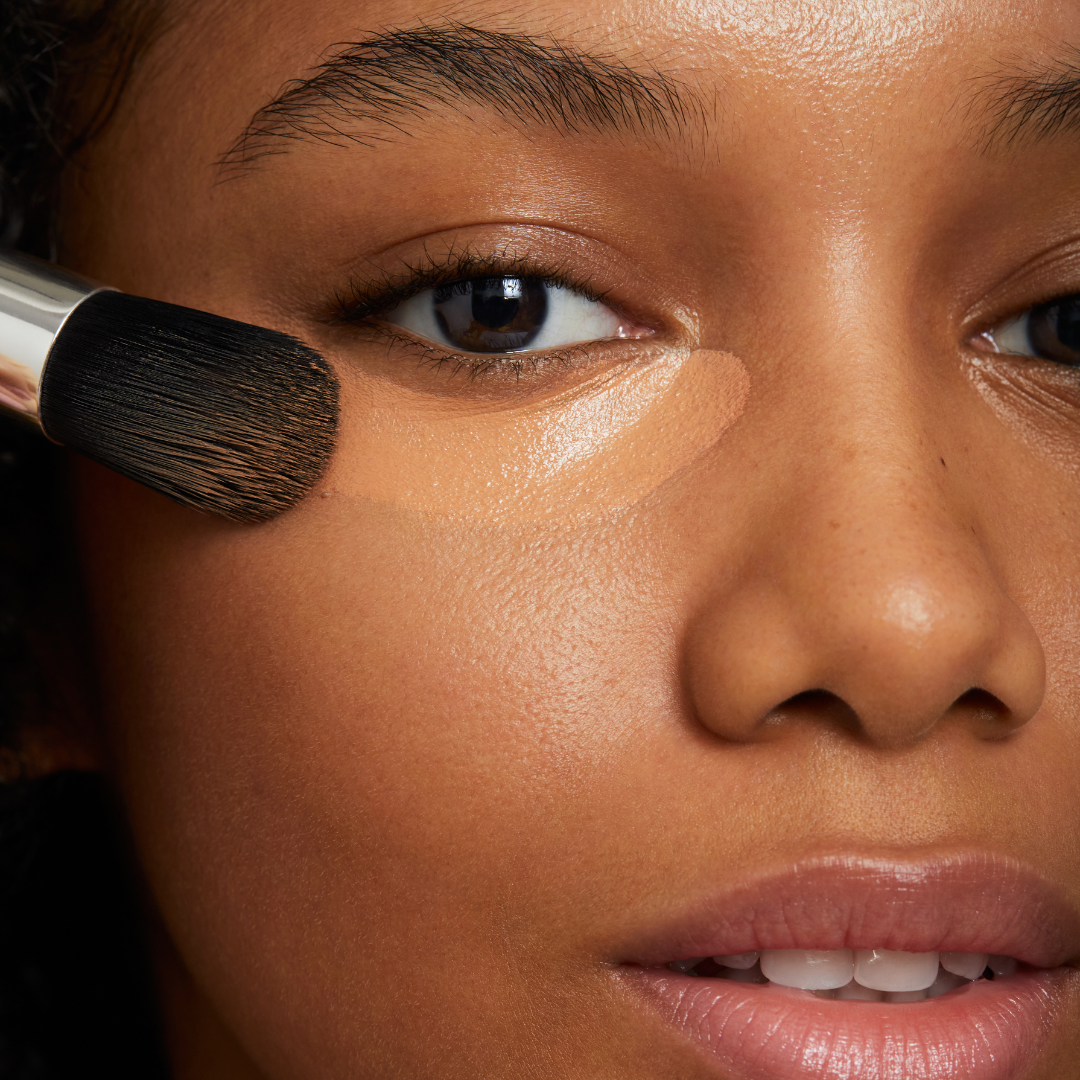
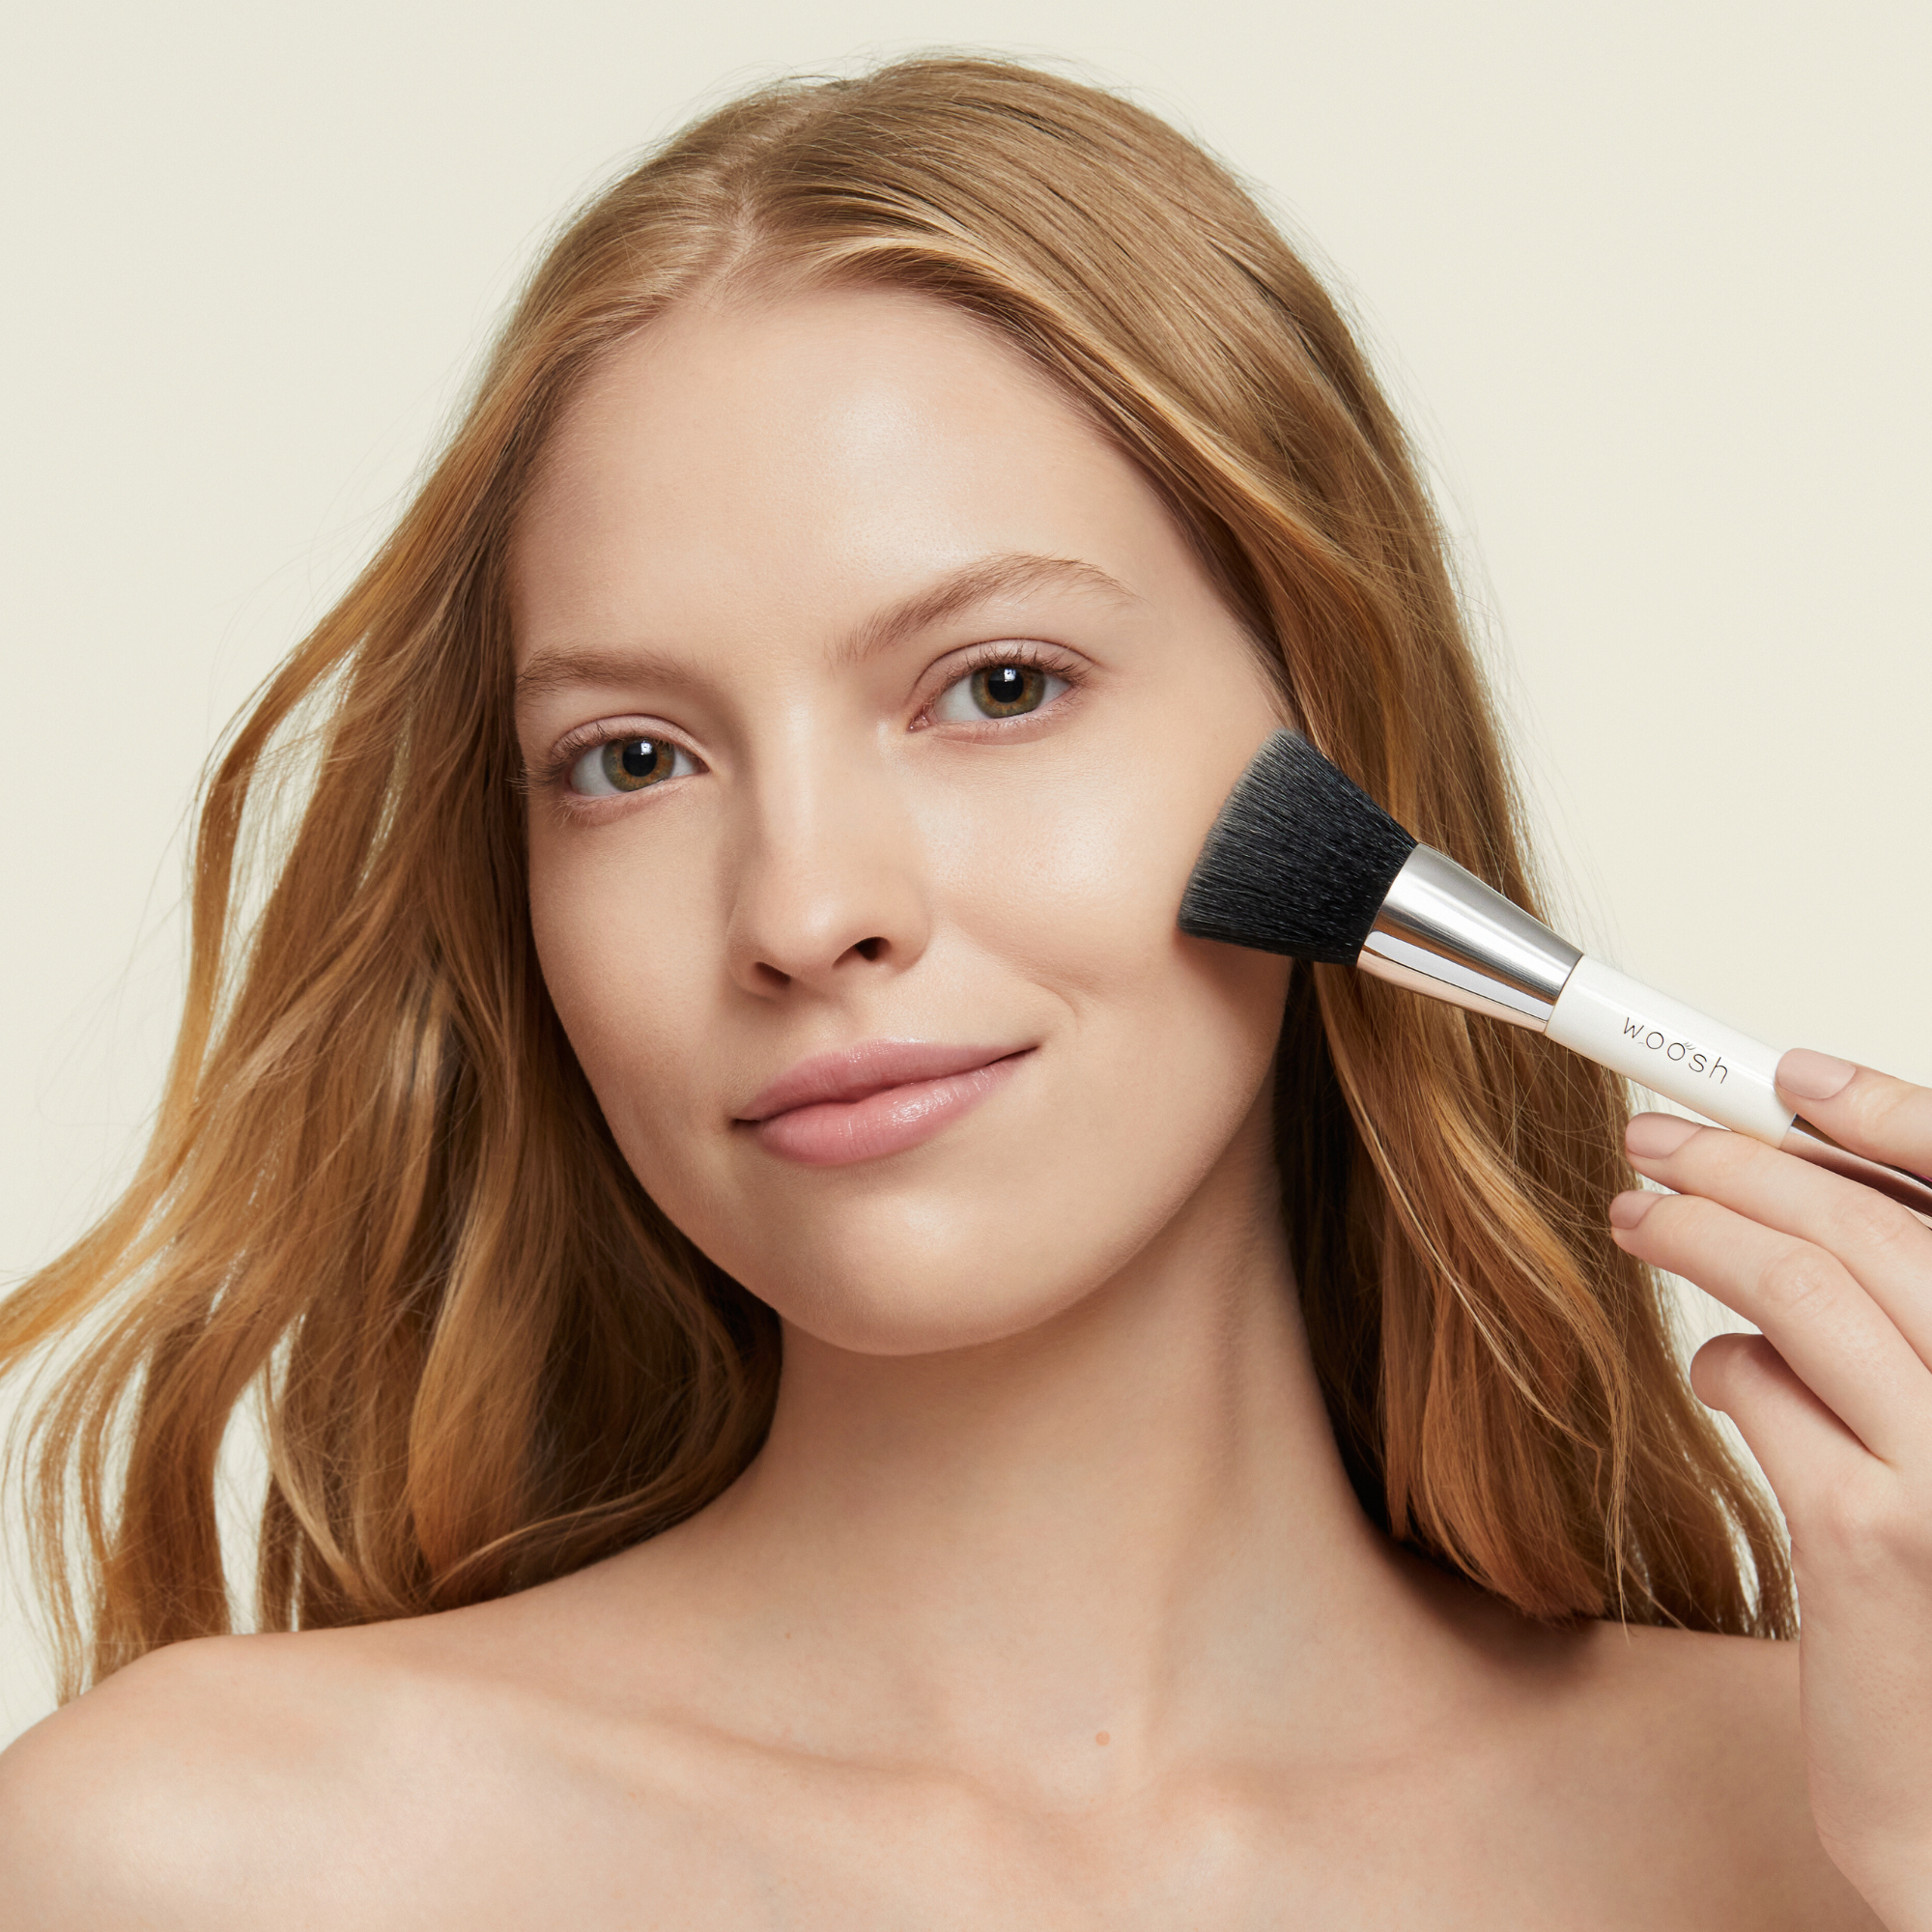
On regular, pimple-free days, we like to conceal, contour and blush before applying foundation because it gives the most natural-looking finish. However, pimples can stretch and warm the skin which makes it tricky for creamy makeup to adhere to. Therefore, try a light dusting of foundation before concealing, using a clean, fluffy brush like the smaller end of our Complexion Brush.

3. The Most Important Bit: Concealer
OK, this is the bit you mustn’t rush. Covering a zit requires patience, so slow down and take your time. Trust us, the end results will be way better and far more long-lasting.
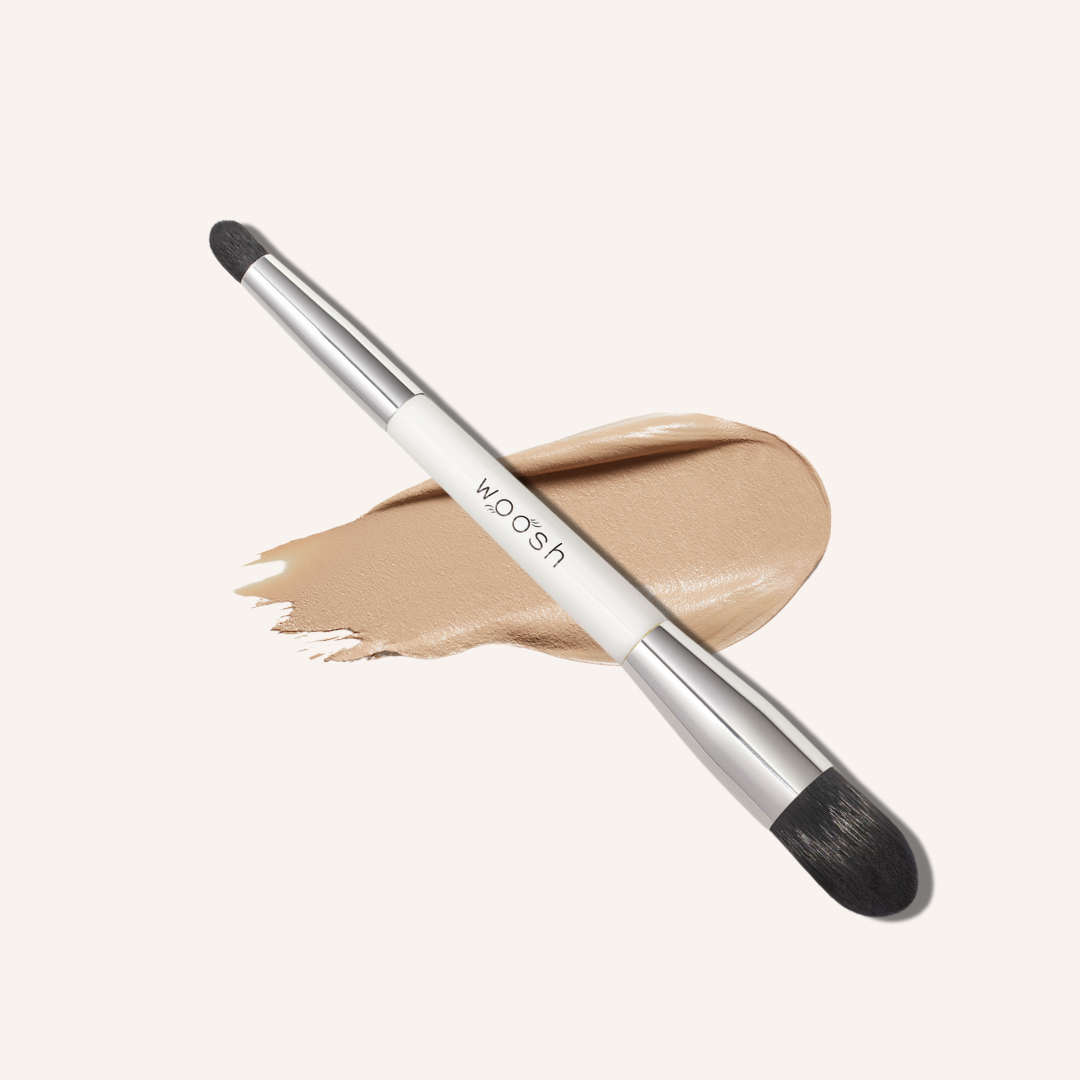
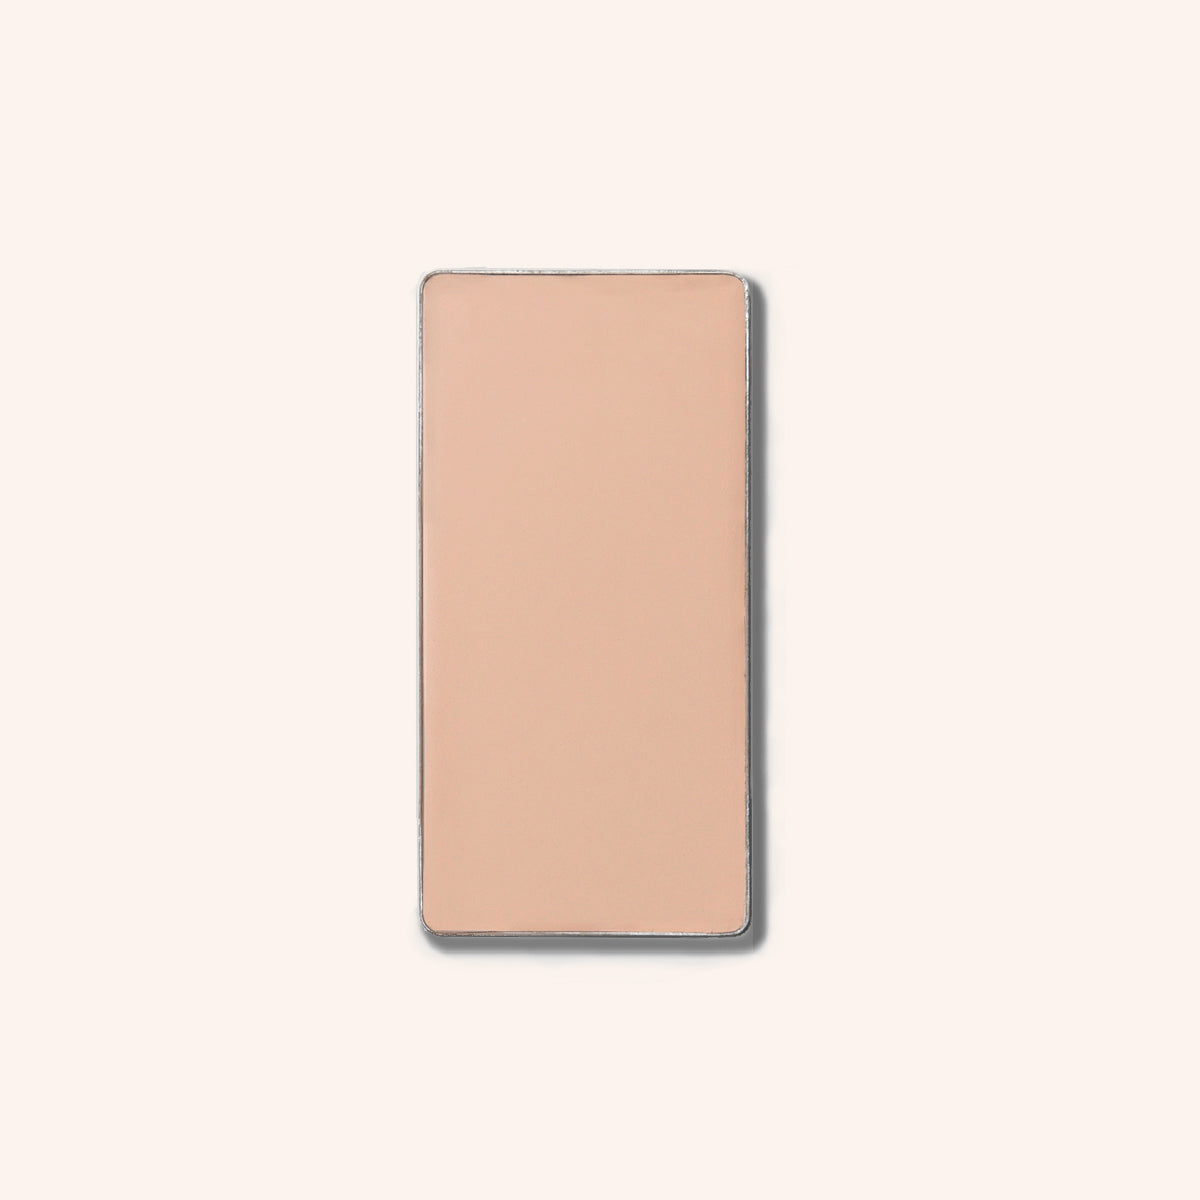
First, grab the smaller tip of your Essential Concealer Brush (again, making sure it’s clean to avoid spreading bacteria) and dip it into your Concealer. Our concealers are super creamy and opaque which makes them ideal for covering up pimples. They also blend like you’ve never experienced before – just saying.
Shade-wise, we like to err on the lighter side to balance out the naturally darker tones of a zit, but keep it as close to your natural skin color as possible to avoid highlighting what you’re try to hide.
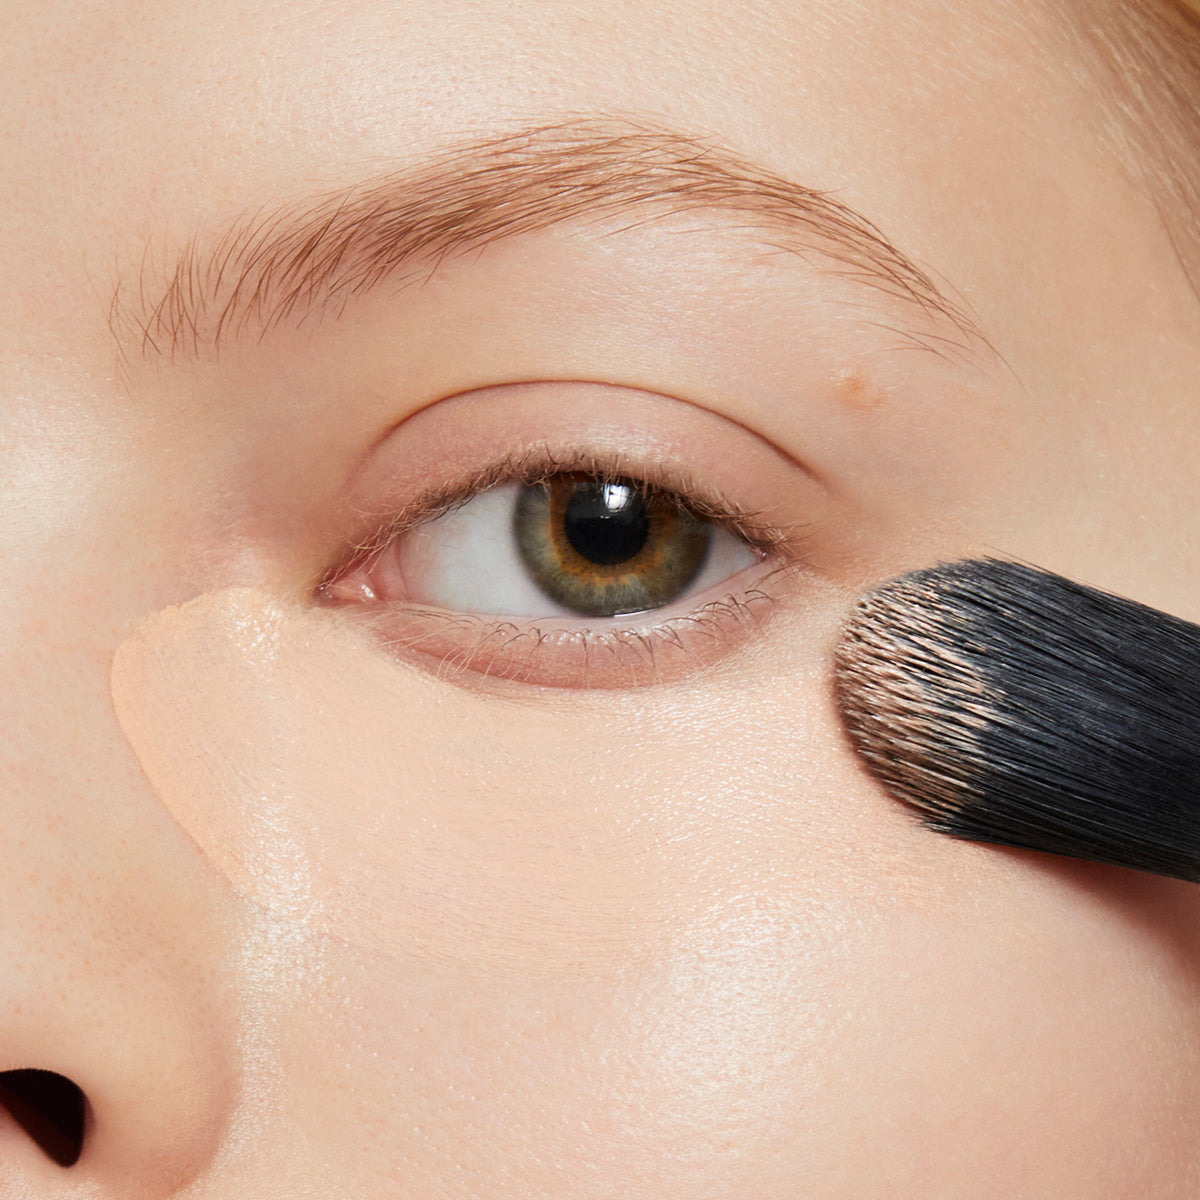
Dab your brush over your spot and gently work it in using tapping, rather than sweeping motions. This will help your concealer stick to your skin. Concentrate specifically on the spot rather than around it – this is where your small-tipped brush comes in super handy! – and remember, a little goes a long way so don’t overdo it, you can always build if needs be.
Once you’re done, blend the edges and give it a few seconds to dry down. You can then check your handiwork and add another thin layer if you need more coverage.
4. Finish With More Foundation
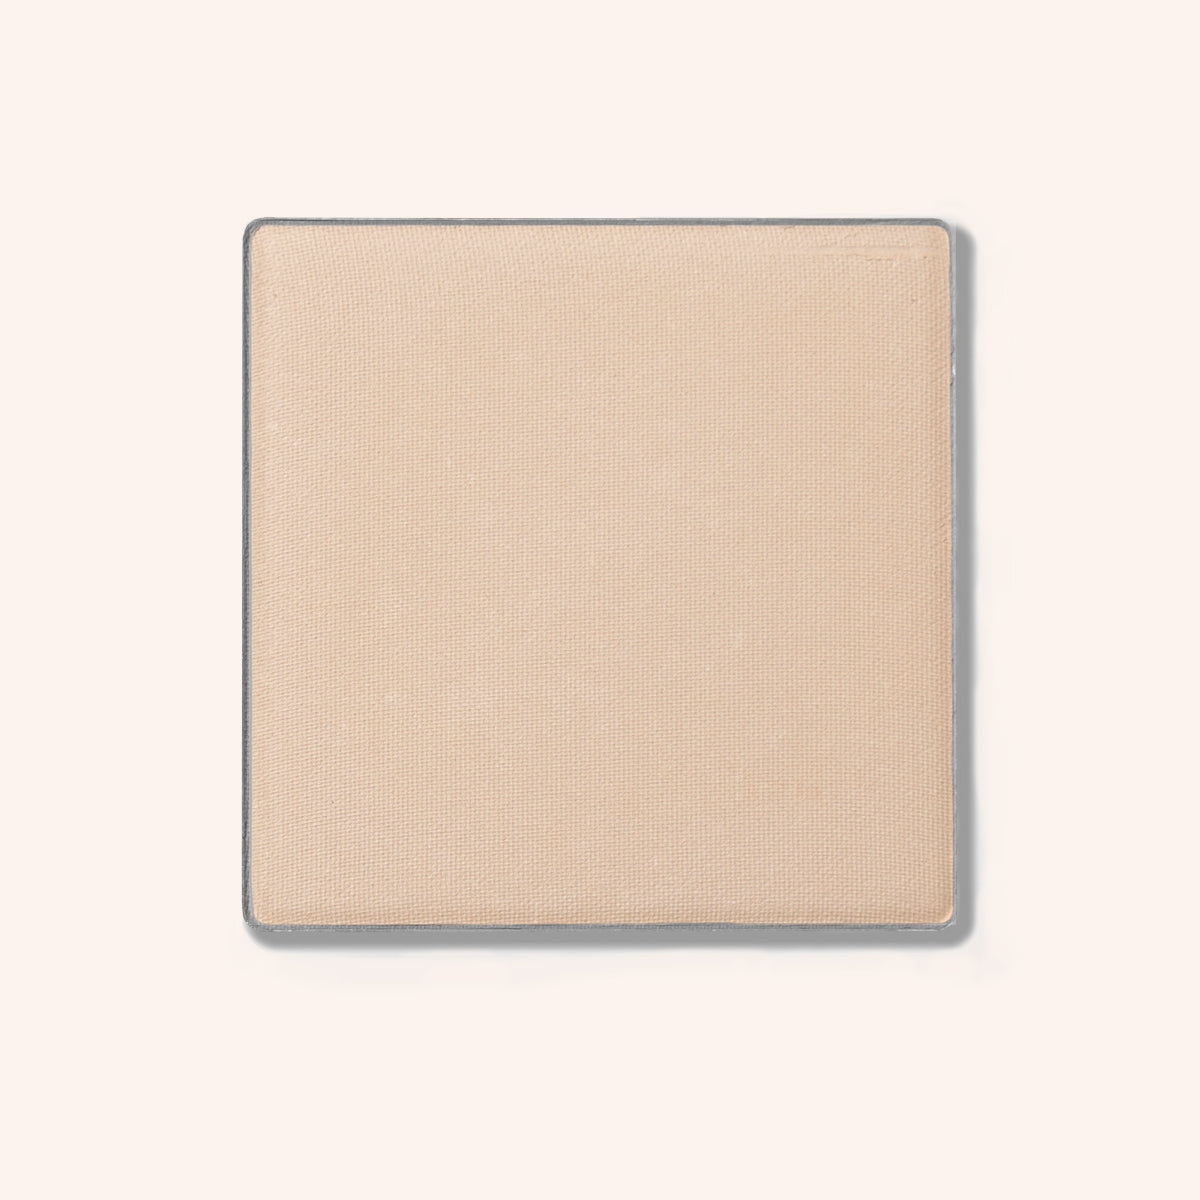
Once you’re happy with your cover-up job, do the rest of your face – blush, under eye concealer etc. – then grab your Foundation Powder again and work it all over your skin using your Complexion Brush.
Lightly dust powder all over your face and neck using circular motions and keep building to find your perfect sweet spot. Our Foundation Powders are mineral based so no matter how much you apply, they’ll never make your skin look cakey or too ‘done.’ They will also help keep shine at bay and set your concealer in place so that it doesn’t fall foul of makeup slippage.
5. And Finally...
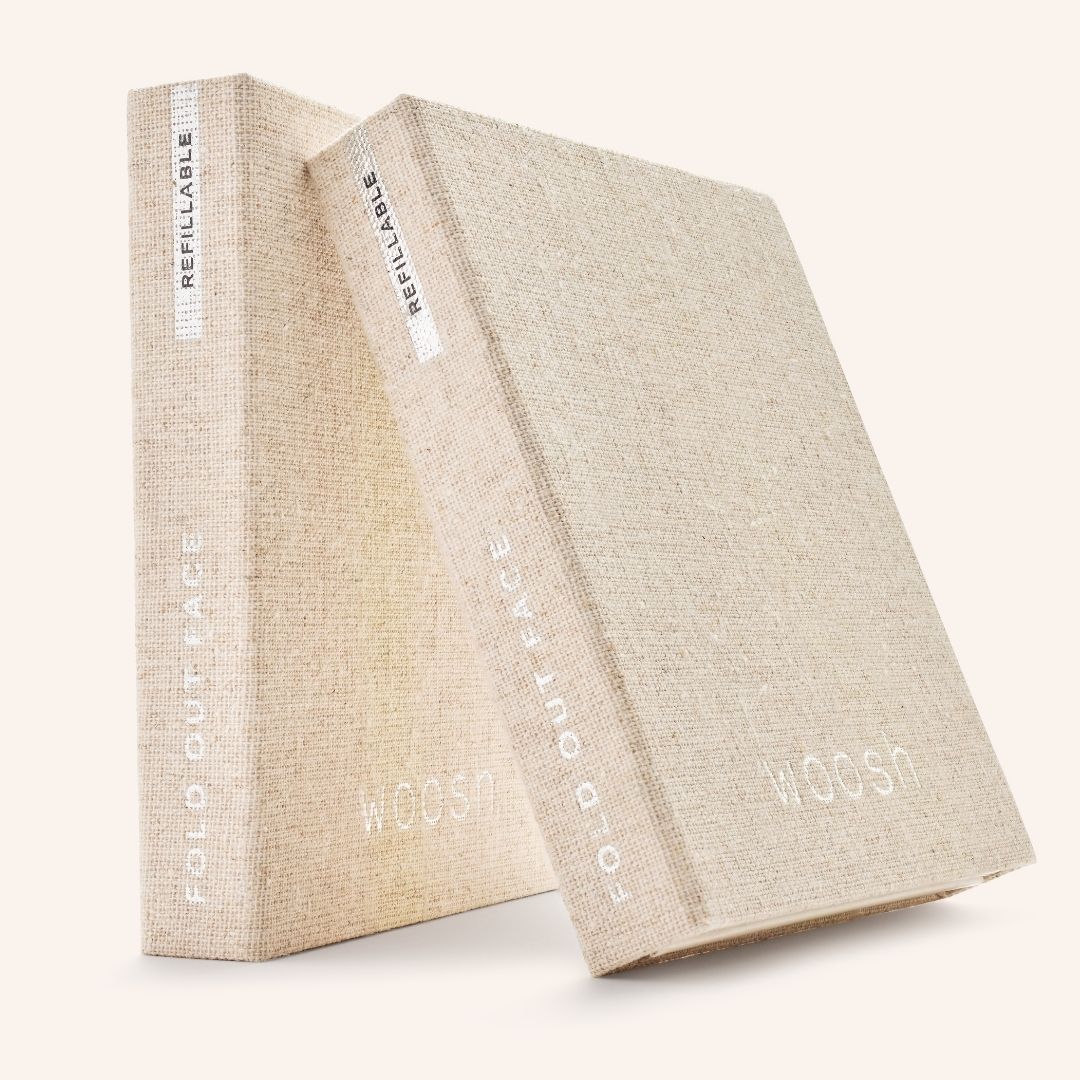
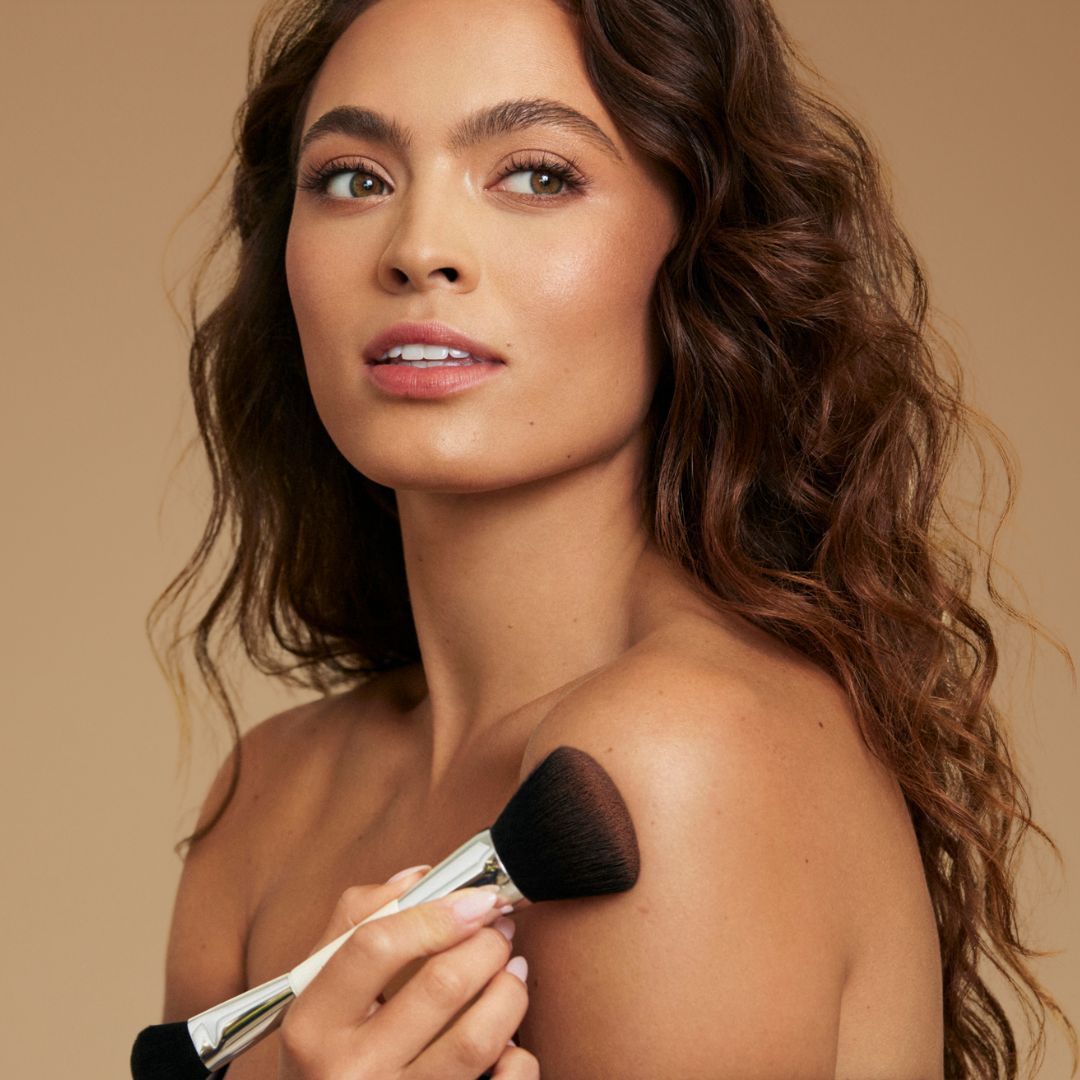
Feel like you need a little makeup top-up while you’re out and about? Don’t forget to pop our Fold Out Complexion Kit into your purse. Compact and bijoux, this little baby contains everything you need for on-the-go skin retouches and pimple cover-ups. It even comes with a handy, four-in-one makeup brush for swiftly and discreetly touching up all areas of your makeup any time, anywhere.

