DOES YOUR UNDER EYE CONCEALER ALWAYS CREASE?
It’s a classic makeup conundrum: how do you successfully stop your under eye concealer from creasing? Should you apply eye cream first? Is it best to use your fingers to blend it in, or is a makeup brush more effective for a smoother, crease-free finish?
If you feel like you’ve tried everything but your under eye concealer still creases up after a few hours of, well, life, our most important piece of advice is this: don't sweat it too much. Maybe you weren't expecting that, but the truth is, it's kind of OK that your makeup’s not 100 percent perfect, 100 percent of the time. You're only human, after all, and makeup perfection might be the ideal, but it’s rarely a reality.
Still, you want to do the best you can, right? Good. Then read on for everything you need to know about minimizing creasing from your under eye concealer. Because minimizing cracks and creases you can do. But eradicating them completely? Yeah, good luck with that.
Why Does Under Eye Concealer Crease In The First Place?
No matter how strict your skincare routine, or how lucky you were when the ageless skin genes were handed out, fine lines around your eyes are inevitable. This is because the skin around the eyes is structurally thinner, drier and more delicate than the rest of your face, making it way more vulnerable to the visible signs of aging. It’s also always on the move due to being one of the most expressive parts of your face.
Fine lines and wrinkles are like a magnet for makeup, so it makes sense that your concealer will gather in the area around your eyes more than the rest of your face. There’s simply more tiny little crevices and folds for it to be drawn to. It’s called gravity. Or something like that.
It's not just the structure of your skin that’s to blame here, however. Your makeup choices, as well as the way in which you apply it, go a long way to helping or hindering your cause.
Below, we’ve put together six simple (but crucial) steps to follow to ensure you do the best by your dark, under eye bags. But remember, a little bit of creasing is fine, so give yourself a break. It’s never as bad as you think.
1. Moisturize With Eye Cream First
Remember what we said about the skin around your eyes being drier than the rest of your face? Its thin, fragile nature has a lot to do with this, but it also contains fewer sebaceous glands for natural moisturization. What’s this got to do with your concealer? Quite a lot, actually. You see, dry skin accentuates tiny little lines and folds, allowing your concealer to settle in and get real comfortable.
This is why it’s super important to apply a moisturizing eye cream before your concealer. Apply only a tiny amount, and use your ring finger to pat it gently around the entire area. La Roche-Posay Hydraphase Hyaluronic Acid for Eyes is a big favorite with the Woosh staff. Because you know how much we love hyaluronic acid...
2. Then Wait A Minute Or So
Eye cream is great, but don’t go overboard. Too much will sit on your skin and screw up your concealer game just as bad as dry skin. Not only will it draw the concealer into your lines, but it can also cause the formula to break down, diluting the color and rendering your concealer pretty useless.
The key is to find a lightweight eye cream that sinks into your skin really well. And, even then, never use more than you need. It's also vital to wait a minute to allow your eye cream to fully absorb before applying concealer. Can’t wait? Then gently dab a Kleenex under your eyes to remove any excess product.
3. Choose Cream Rather Than Powder Concealer
OK, now for the good part (in our humble opinion, anyway!): finding the best concealer.
The most important things for nailing that elusive crease-free finish are thickness and creaminess. Heavy, full-coverage concealers that feel thick and waxy, for example, will cling to every tiny crease in your skin. As will drying, powder formulations that are less flexible and therefore pretty useless at ‘moving’ with the contours of your skin.
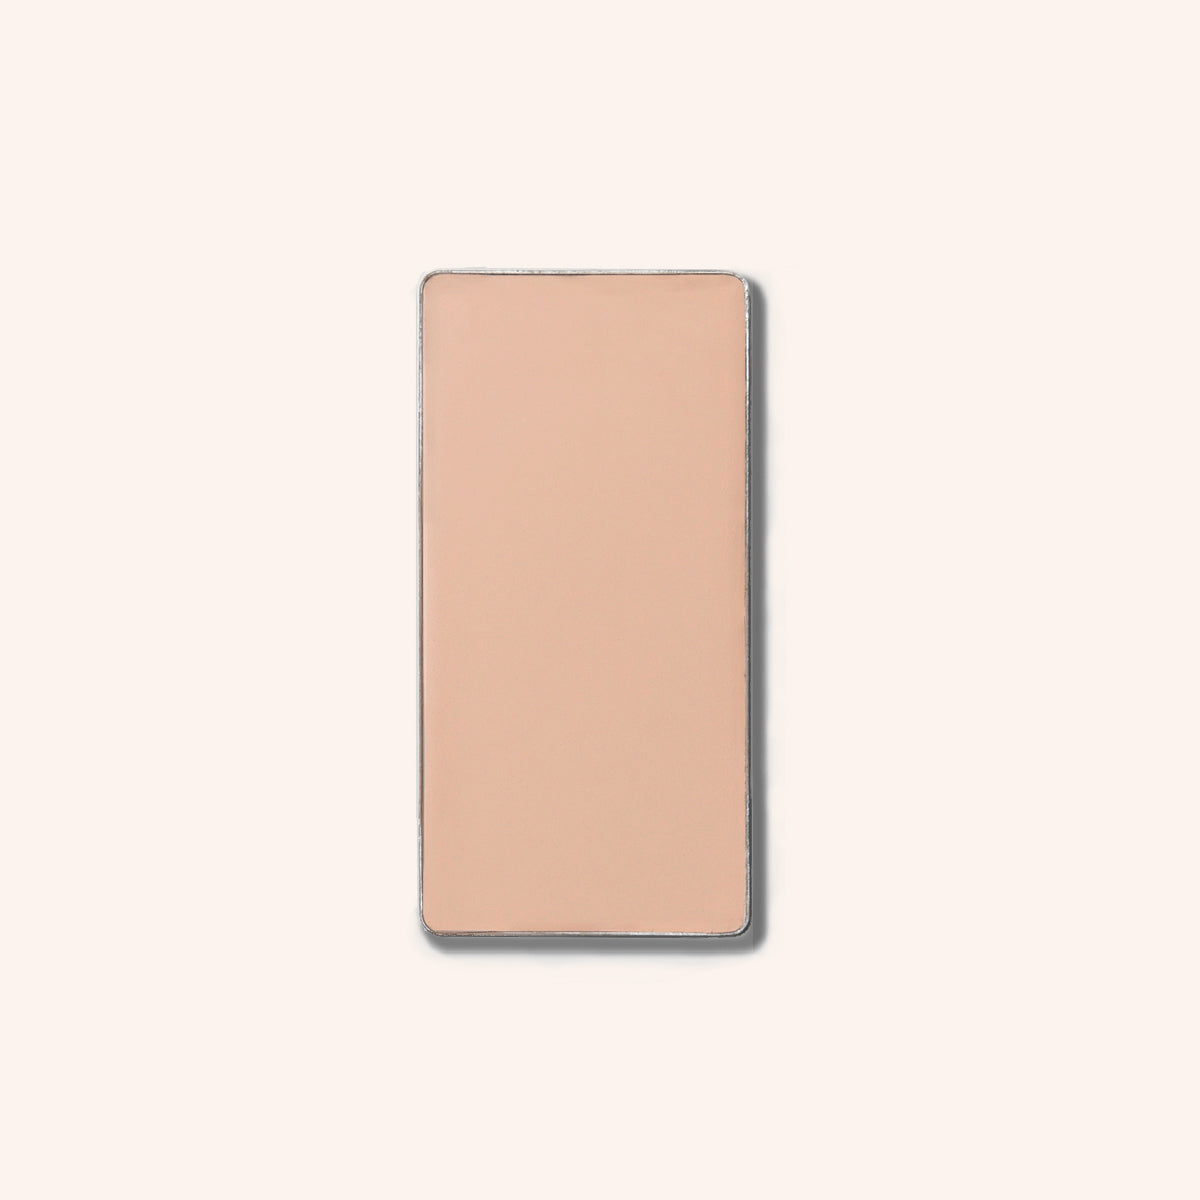
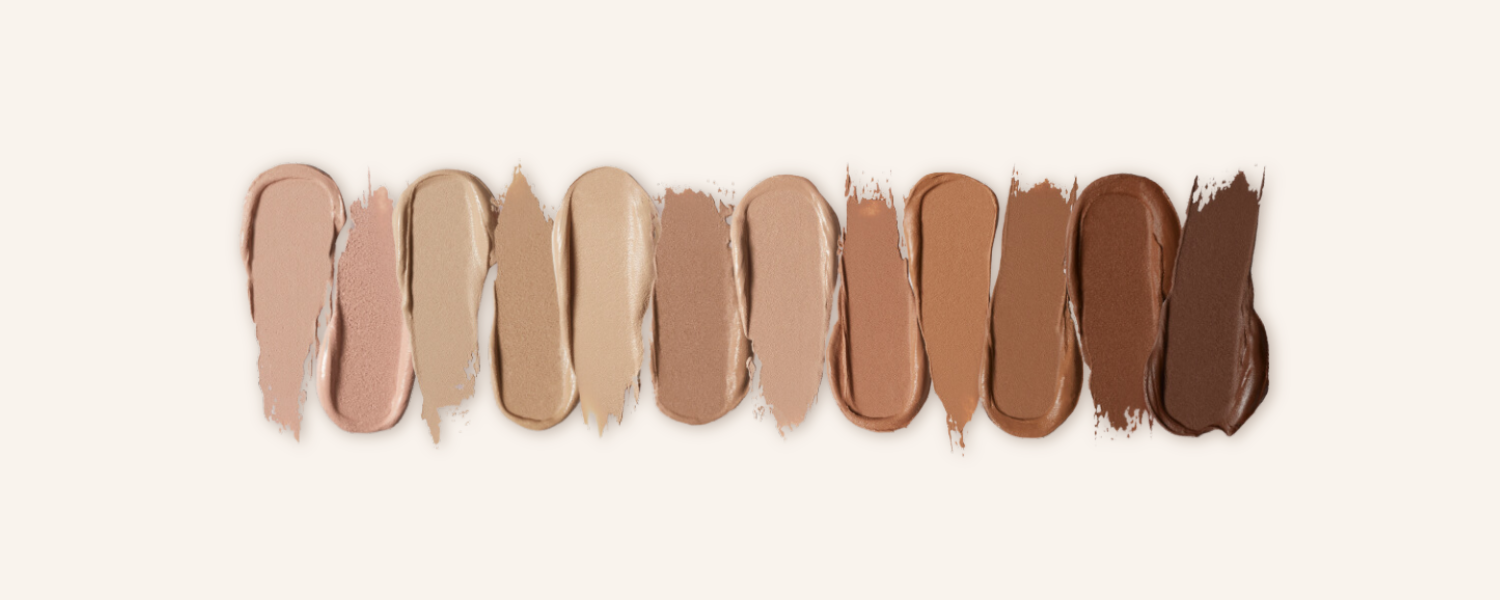
What you’re ideally looking for is a formula that’s lightweight and creamy so it doesn’t sit in the folds of your skin. It must also have just the right amount of pigment to cover your dark circles without looking glaringly obvious. Sounds like an impossible search? Not at all. Our super creamy Concealers check both of those boxes. You can see for your own eyes how flexible and blendable they are just by applying a little to the back of your hand and then poking and moving the skin around with the fingers of your opposite hand. You’ll notice immediately how our lightweight formula moves with your skin. It doesn’t pool in crevices or sit in fine lines. Magic? Not quite. But it’s close.
4. Then You Need To Gather The Right Tools
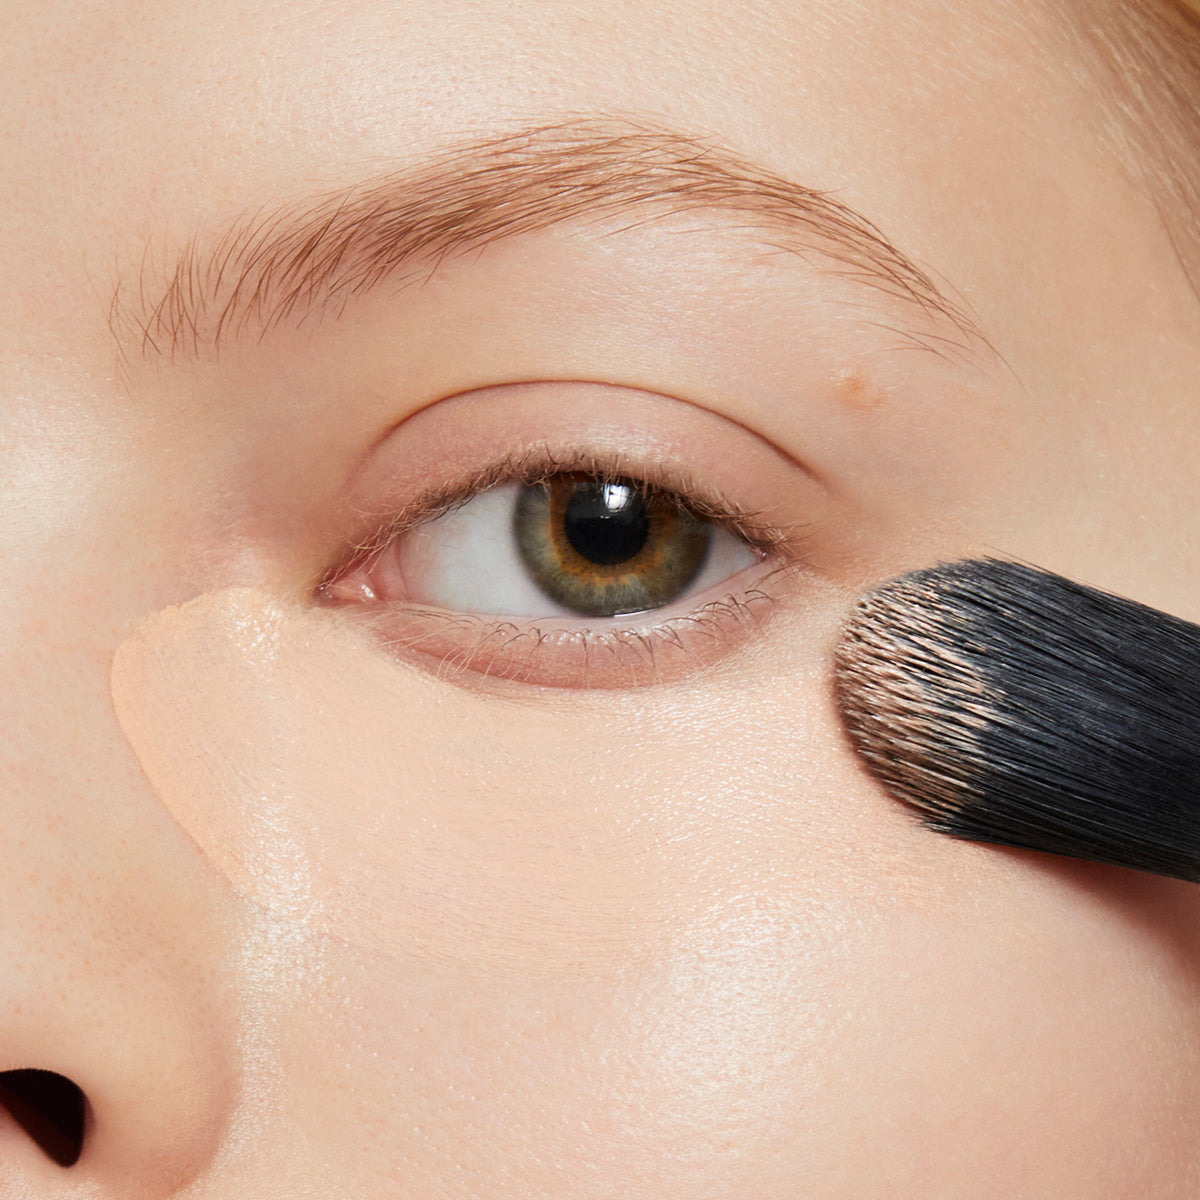
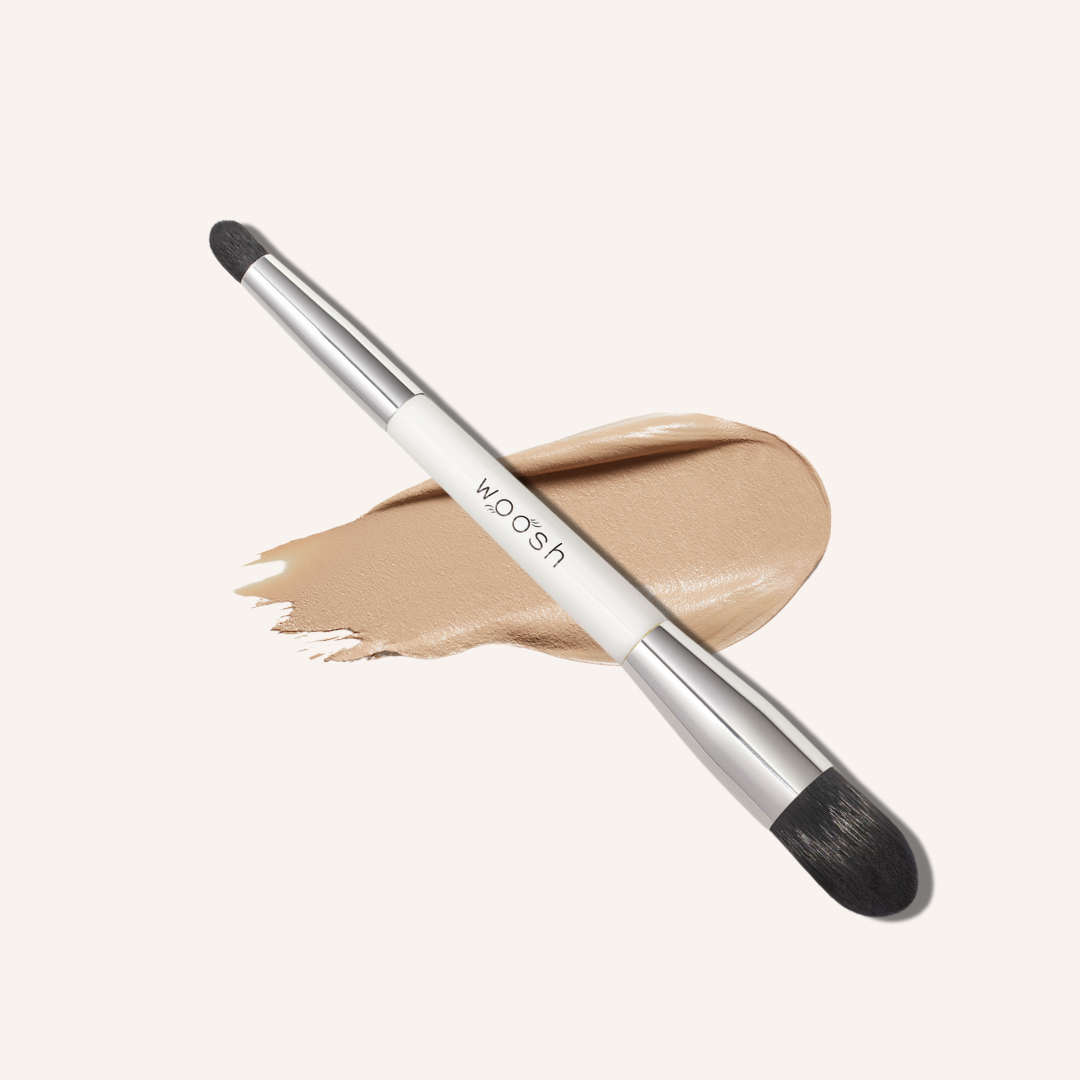
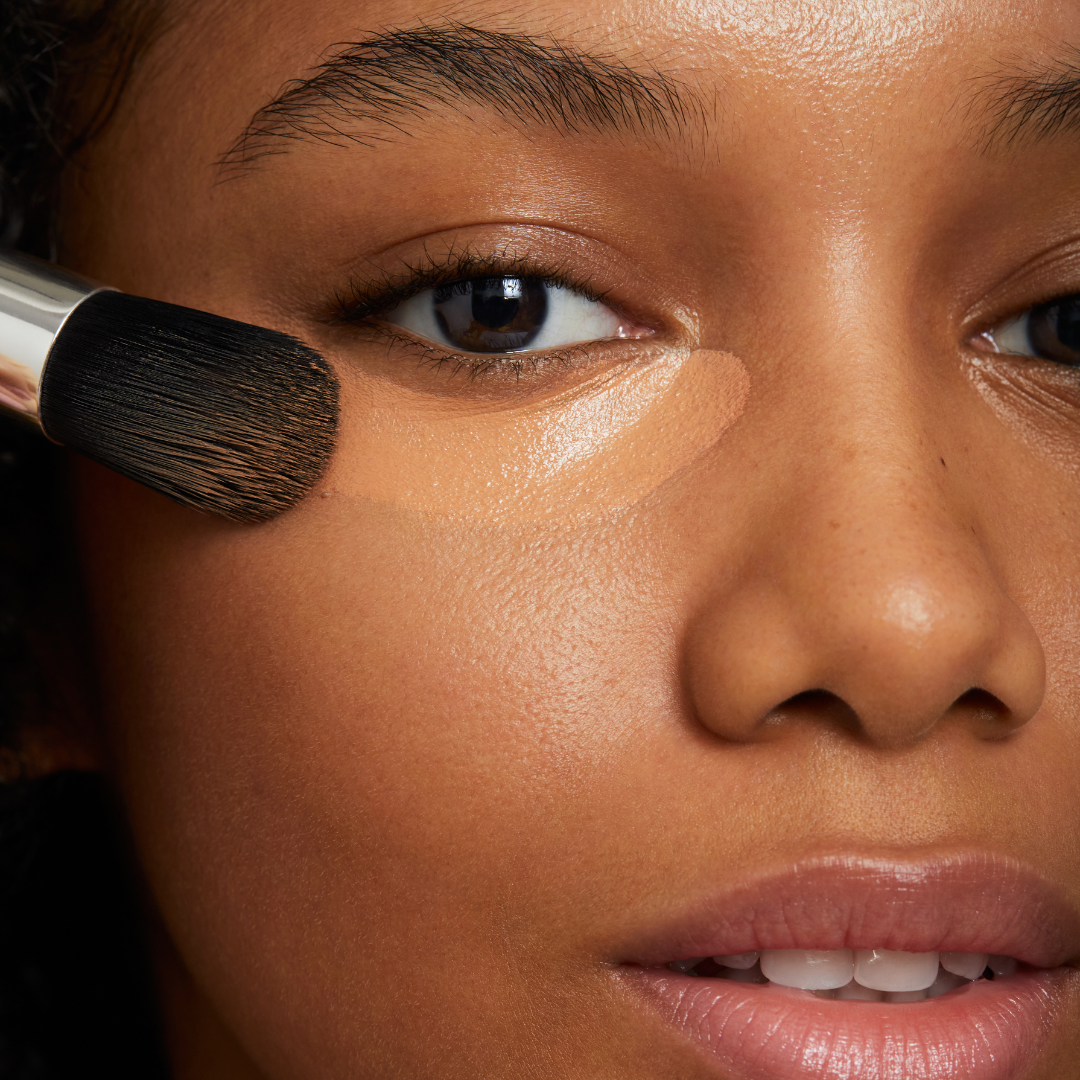
If you don’t have a concealer brush in your arsenal of makeup tools, you might want to change that. Sure, your fingertips are fine for patting and blending in your concealer as the last, finishing touches, but a brush will give you much more precision, helping you to apply product only where you need it.
A great concealer brush should be fairly small, with a kind of pointy, tapered end like our Essential Concealer Brush (above). This helps you guide color into the inner corners of your eyes which is usually the place where most of the darkness occurs. The skin here is also generally smoother and less ‘crinkled’ so it's the perfect place for concealing without all the creases.
Choose a synthetic rather than a natural bristle brush. Not only because no animal should come to harm so you can look good, but because synthetic bristles are less absorbent meaning more product ends up on your skin, rather than getting stuck in your brush and eventually washed down the sink. That's just wasteful.
5. Only Apply Concealer Where You Need It
We’re all about less is more but if there's one product this applies to most, it’s under eye concealer. Of course, you want your concealer to do its job, but you don’t to go too wild and apply too much of it. It’ll simply look cakey, unnatural and is guaranteed to crease up at lightning speeds.
The secret is to work in thin layers and, rather than dotting product underneath your entire eye area, start at your inner corners first. Chances are, building and blending concealer here could be enough to brighten up the entire area without applying any more.
6. Ready? Then Set
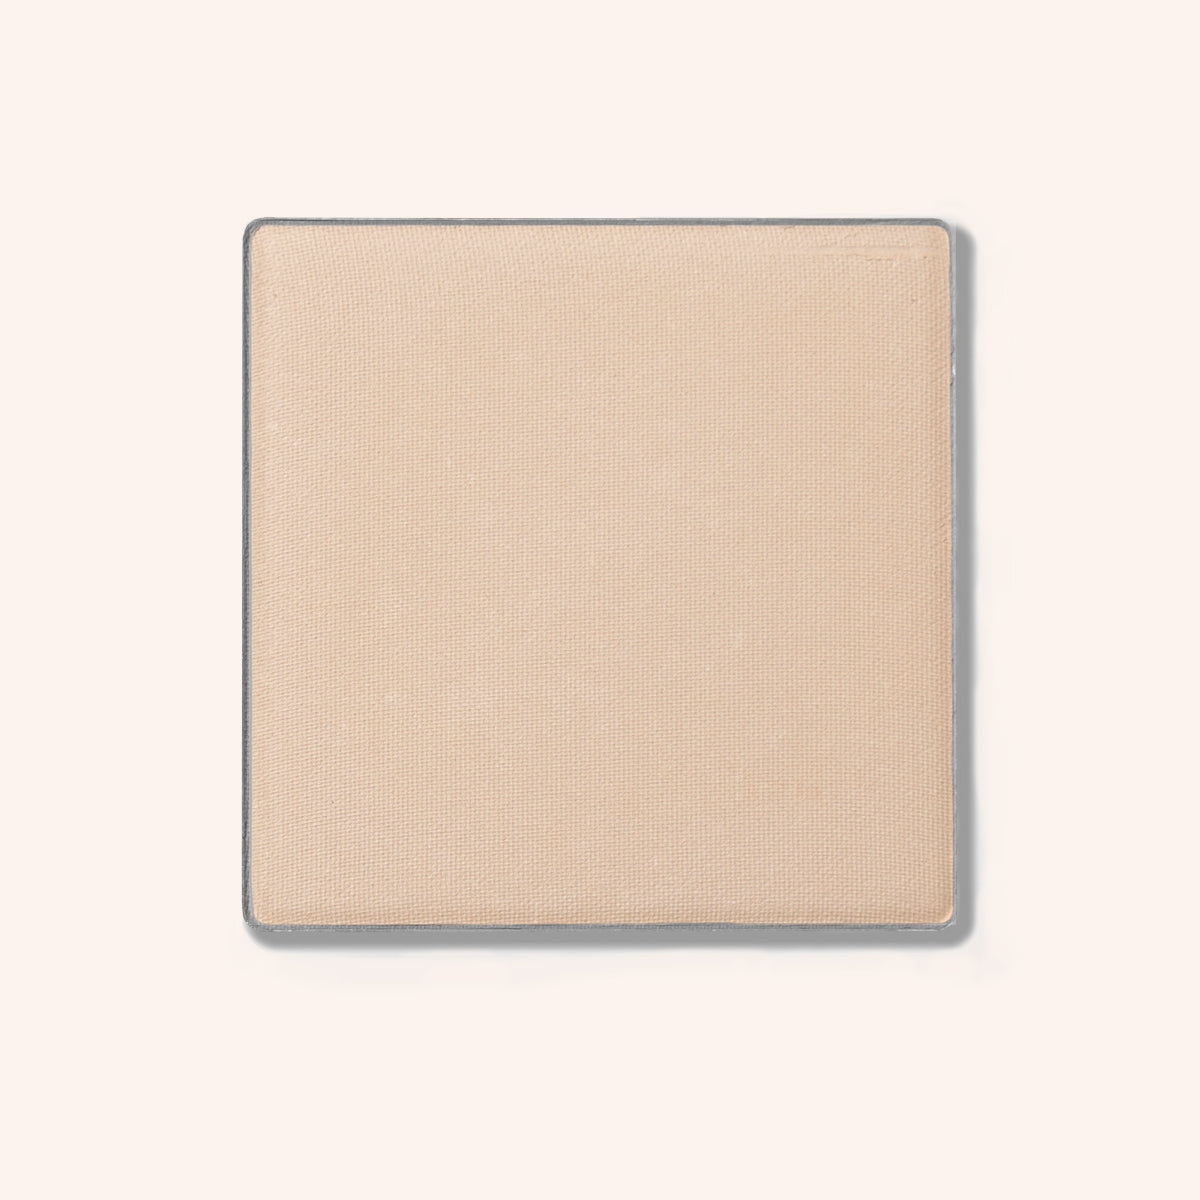
Once you’re happy with your concealing masterpiece, it’s always wise to set it with a light (and we mean, VERY light) dusting of powder. But don’t make the mistake of choosing a mattifying face powder as its inherent dryness will undo all of your hard work. Instead, use our Foundation Powder which will set your concealer and help reduce creasing without sucking all the life from your skin.
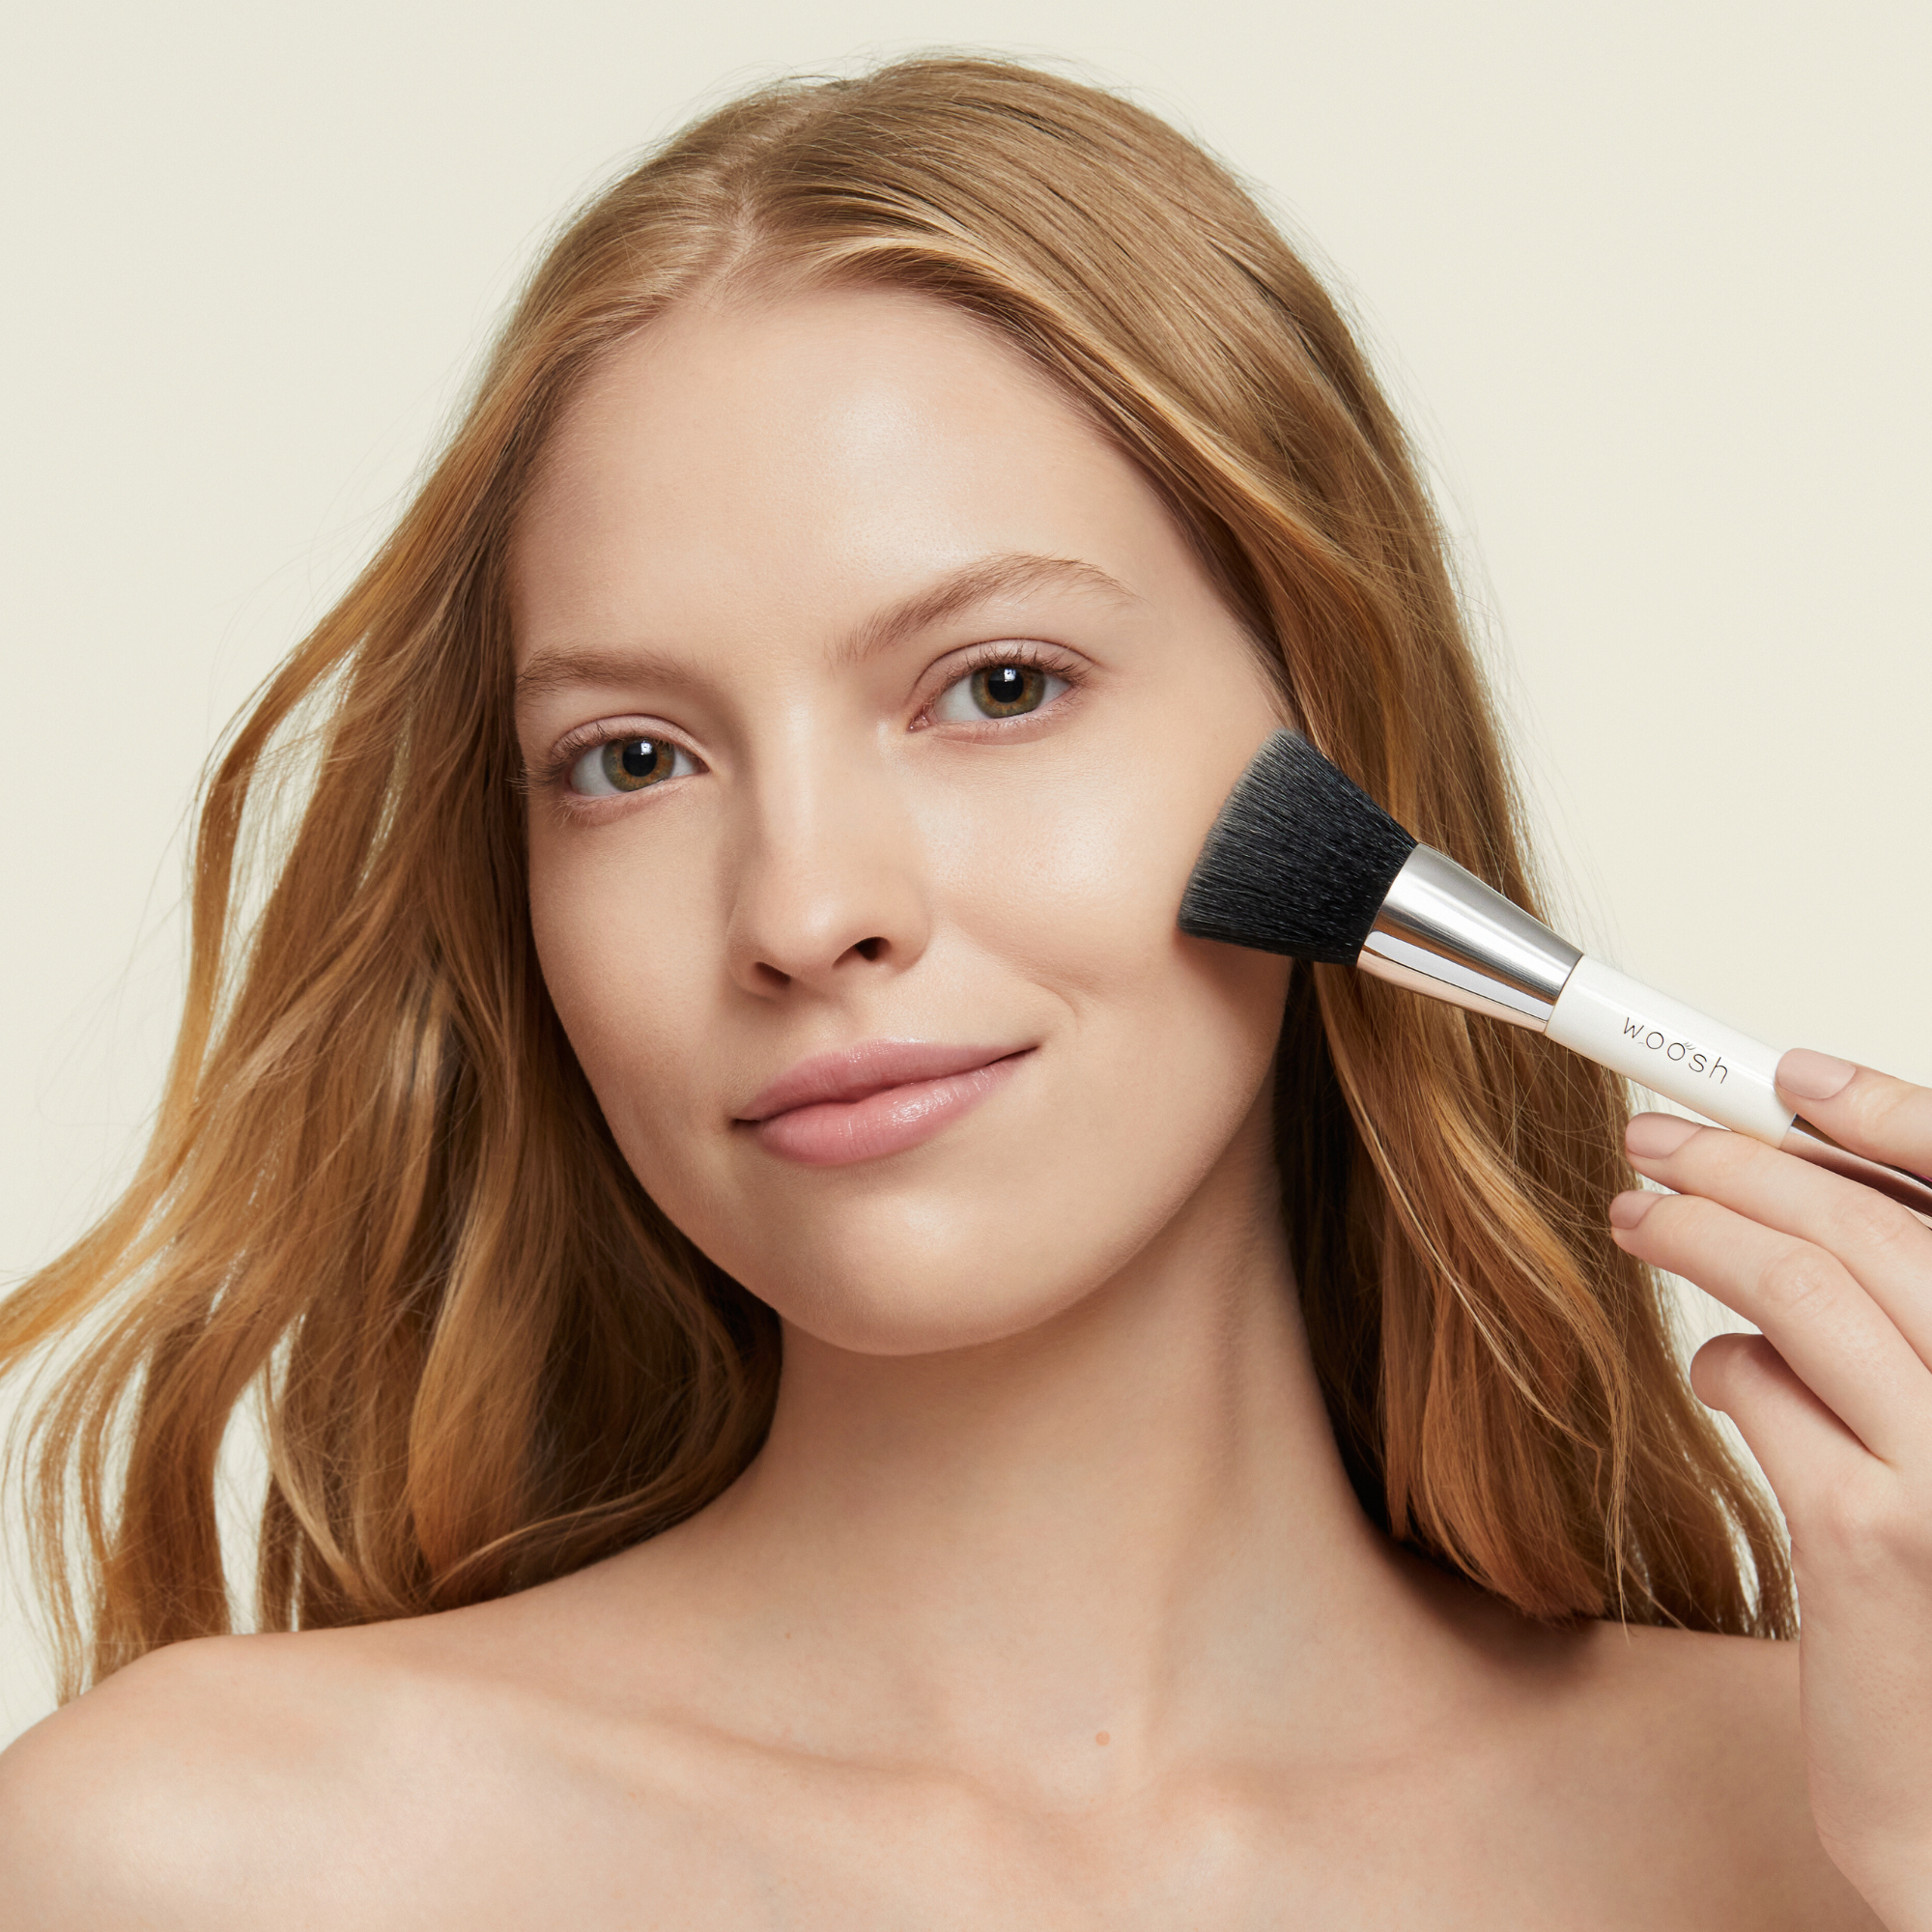
Work a large face brush over the powder, then close your eyes and apply it over your entire eye area. Gorgeous!
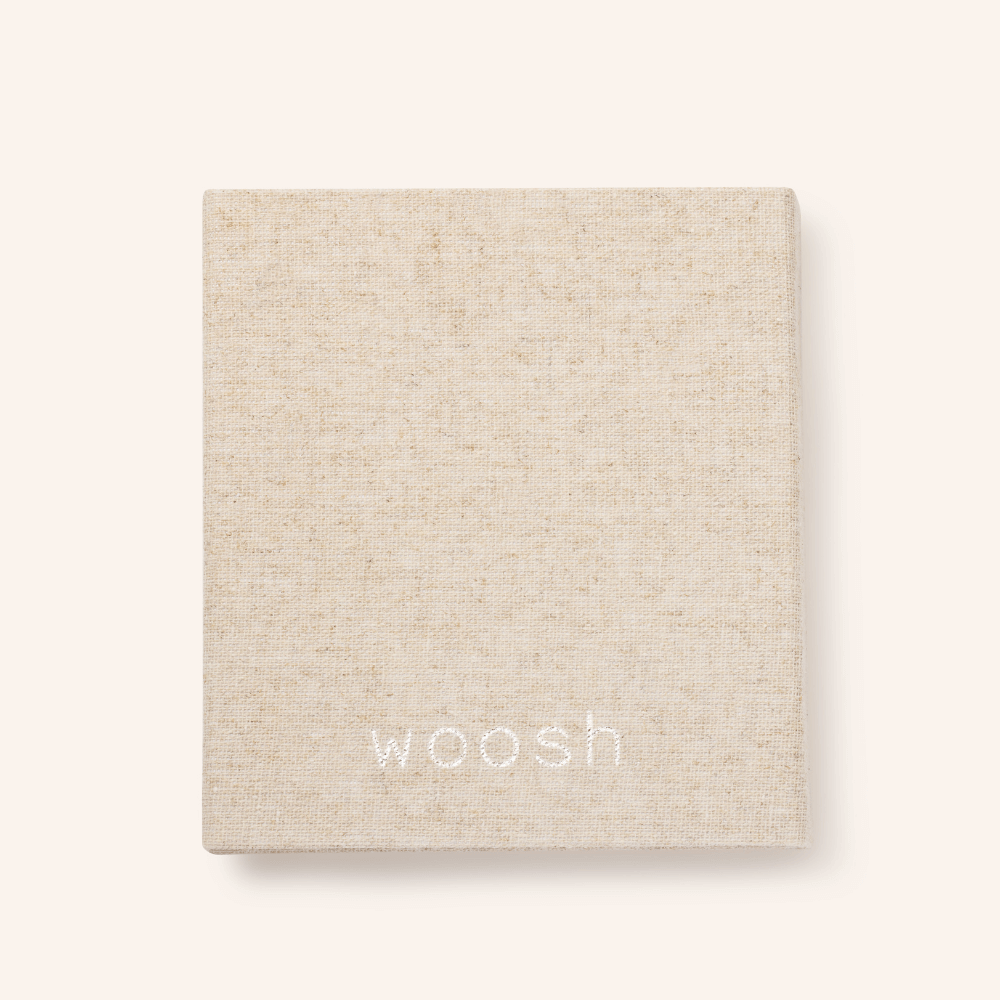
One final piece of advice? Treat yourself to our Fold Out Complexion Kit (above) which contains two awesome concealers, plus the best foundation powders to finish your look. You’ll also receive a shimmer/blush and the cutest 4-in-1 Secret Brush for artfully creating smooth, bright under eye makeup with zero fuss and nonsense.
And that’s always the dream, right?

