

How to Get Instant Liner Looks with the Arc Brush
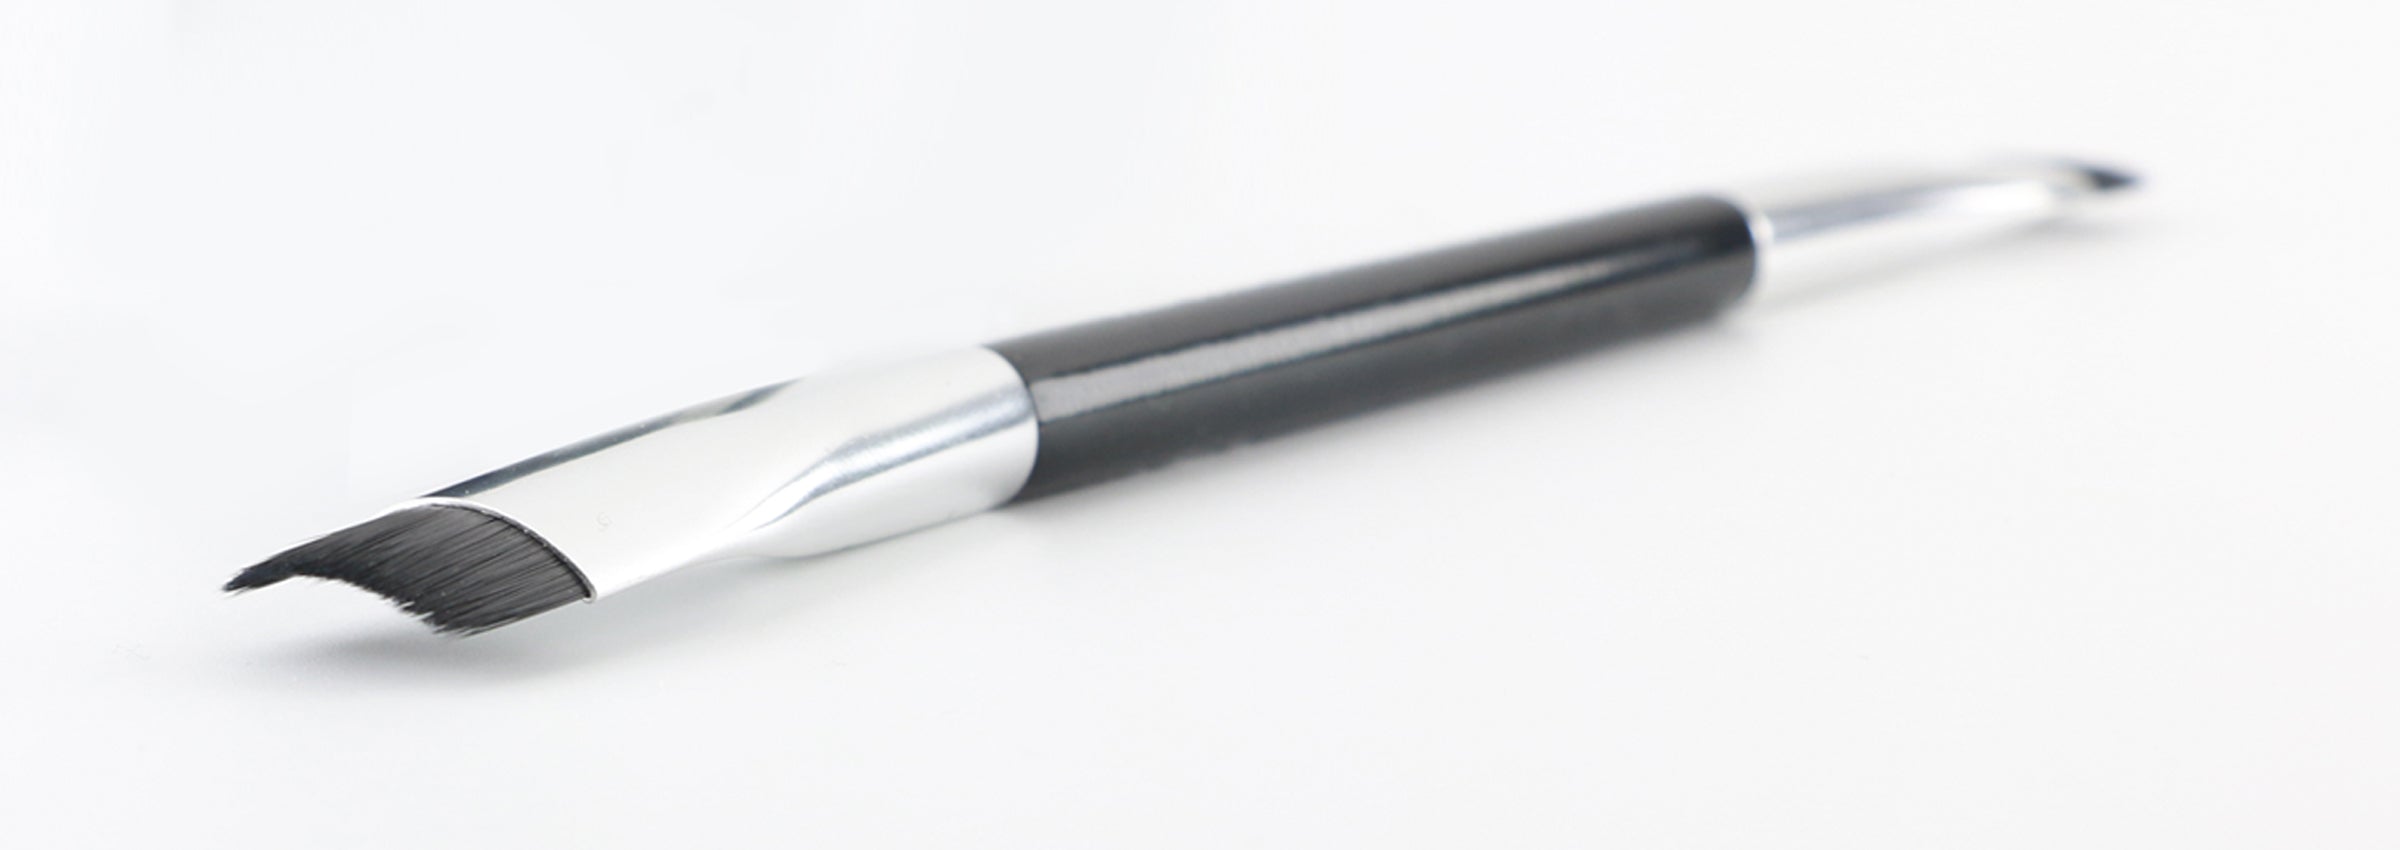
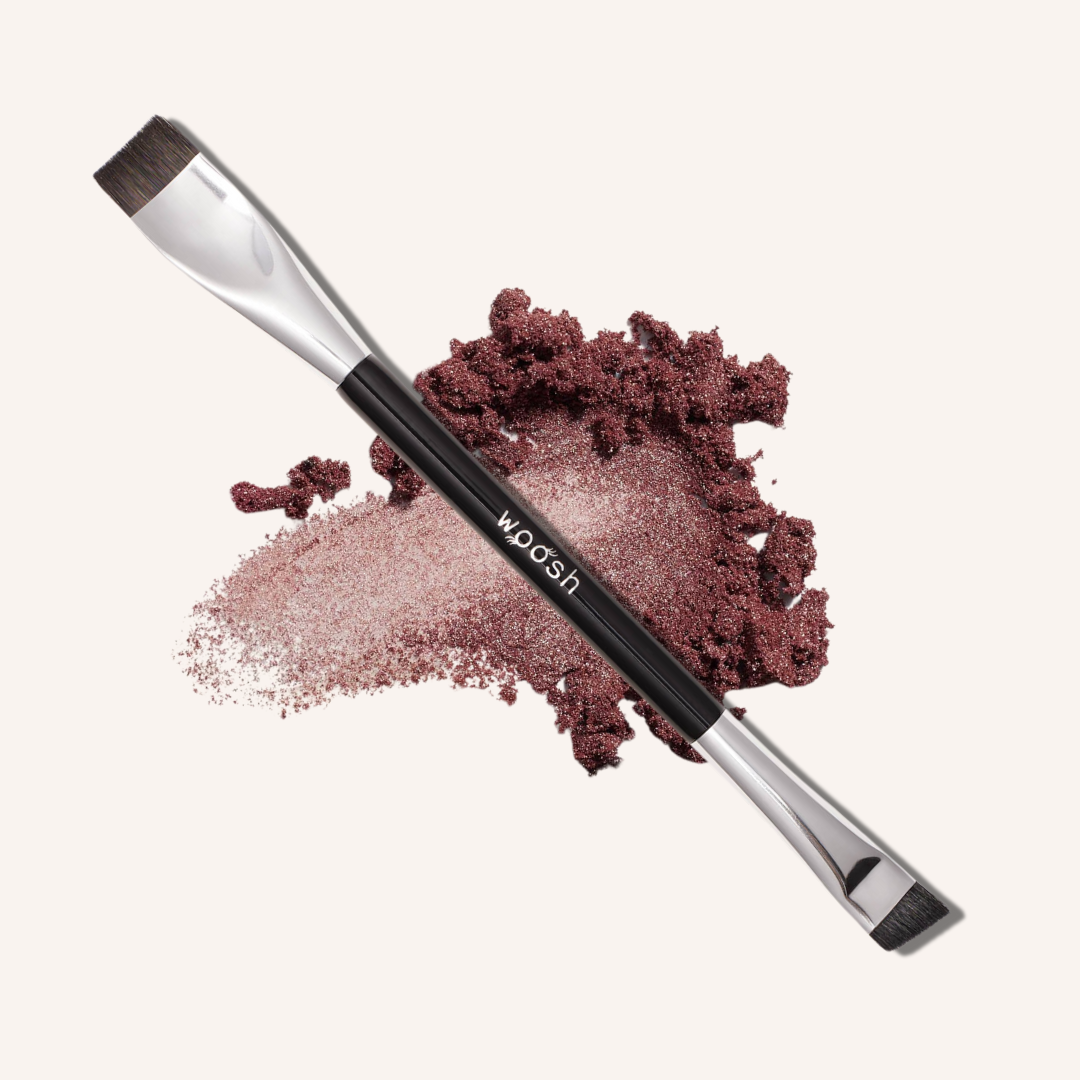
If brushing up on new makeup techniques isn't high on your list of priorities these days, no worries! We made an angled liner brush, the Arc Brush that lets you achieve dramatic eye looks without the drama of doing them completely free hand.
Just pick a look below and follow its simple steps.
THE TIGHT LINE
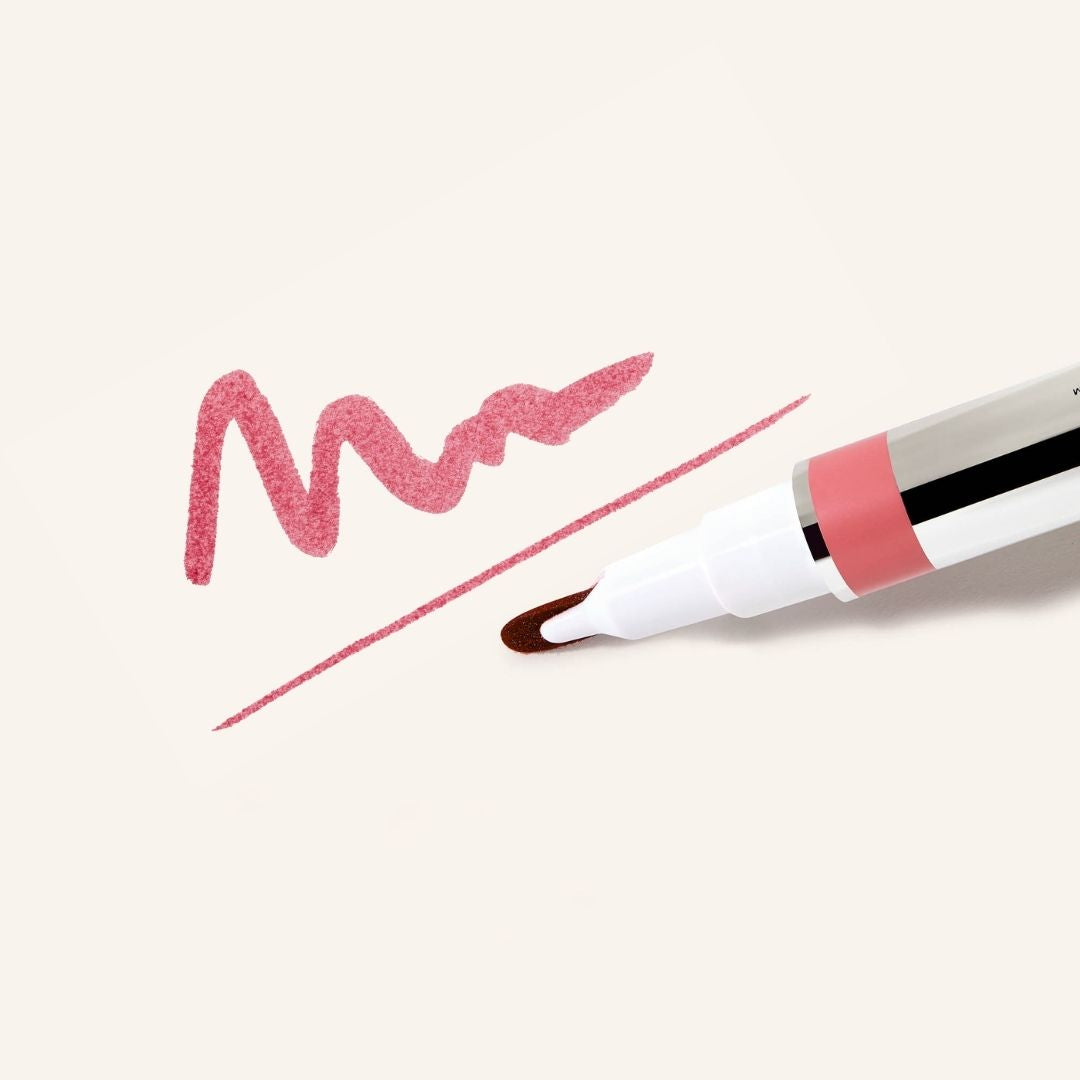
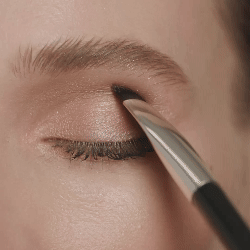
Step 1: Apply shadow or liner to the curved Arc end of the Arc Brush. Once the brush is loaded, with the curve facing down, gently press onto your upper lash line.

Step 2: Flip the curve up to a smile position, and apply to your lower lash line!

Step 3: Use the opposite angled end of the brush to blend as desired.

Two stokes and VOILA you’re done!
THE QUICK FLICK
Step 1: Apply shadow or liner to the curved Arc end of the Arc Brush (prop tip: if you want a more define stamp, wet the curved end before dipping into shadow)

Step 2: With the curve facing up, (like a smile) position the bristles against the outer edge of you upper lash line and gently press, marking your flick.

Step 3: Using the opposite, angled end of the brush, pull the color in from the outer edge and along your lid.

TA-DA a winged liner look!


